
Release date: March 4th 2025
Welcome to my Omnissa App Volumes series. In this session I will describe how I migrated App Volumes applications, metadata, and entitlements to a new datastore. By using Storage Groups, I can do this without downtime for the users.
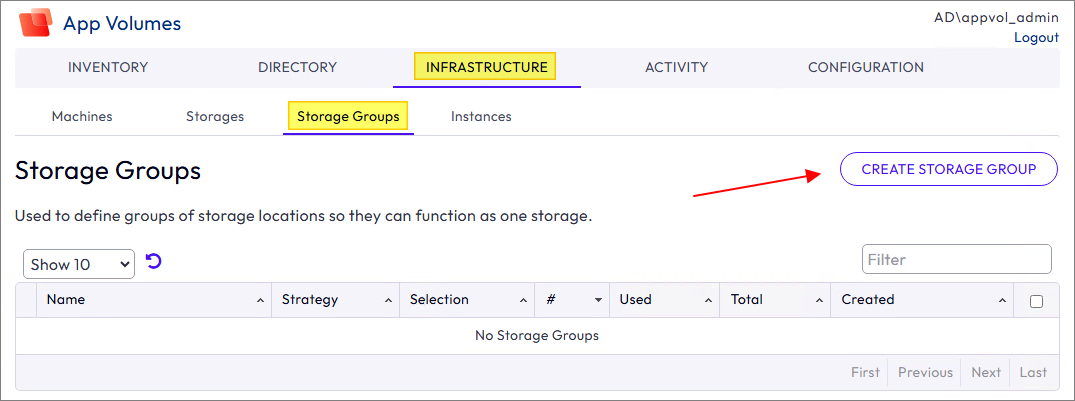
I begin by creating a new Storage Group to replicate existing App Volumes applications to the new datastore. Infrastructure > Storage Groups > Create Storage Group
I provide a name for the Storage Group and the replication settings.

From the list of datastores, select both the old and new datastores.
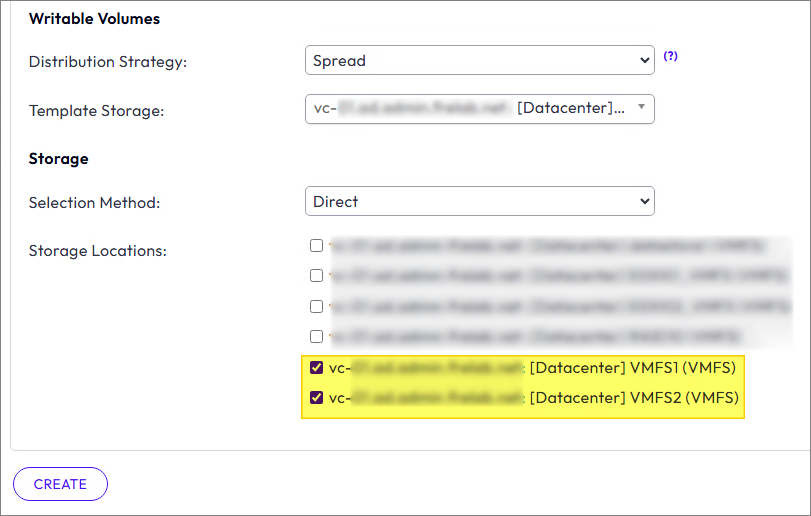
I confirm the change.

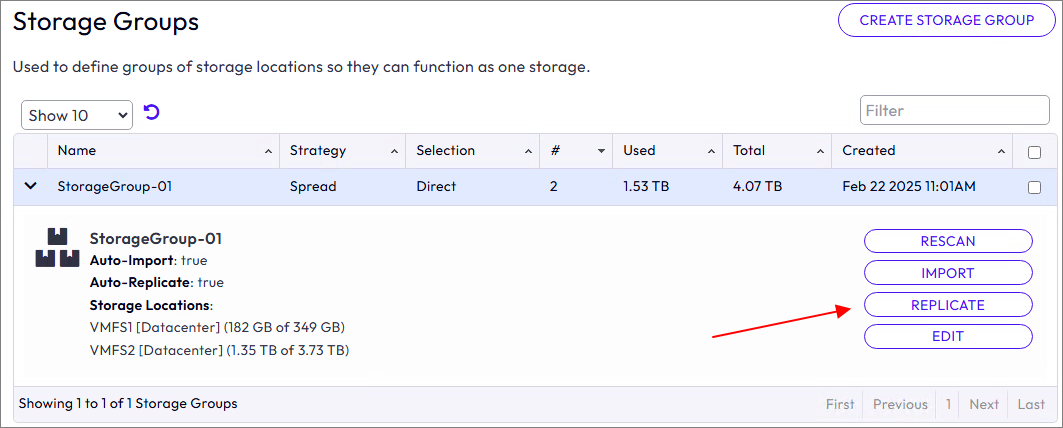
Click Replicate to force immediate replication
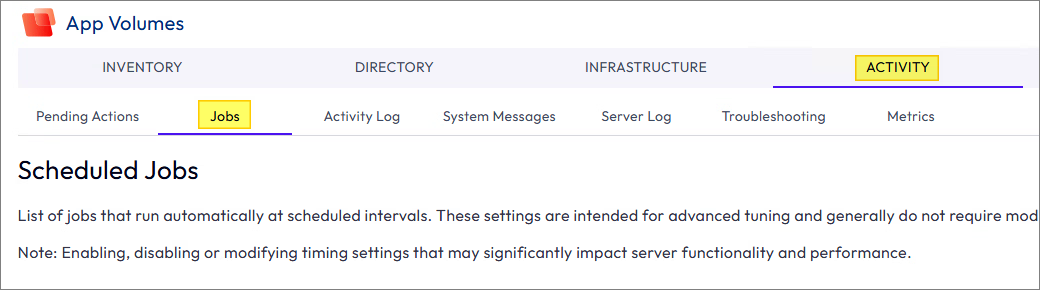
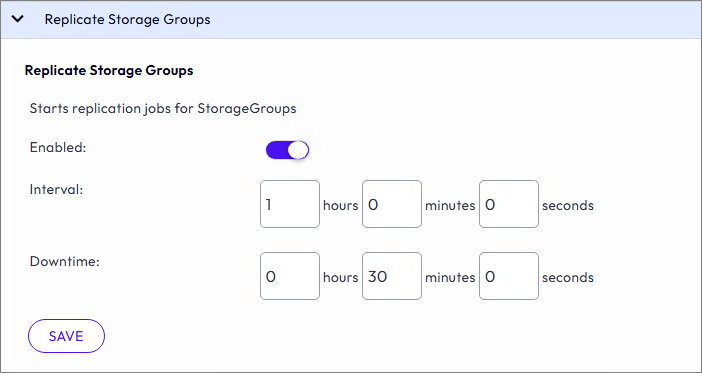
The job that handles the Storage Groups replication can be adjusted to run more frequently to speed things up, Activity > Jobs > Replicate Storage Groups
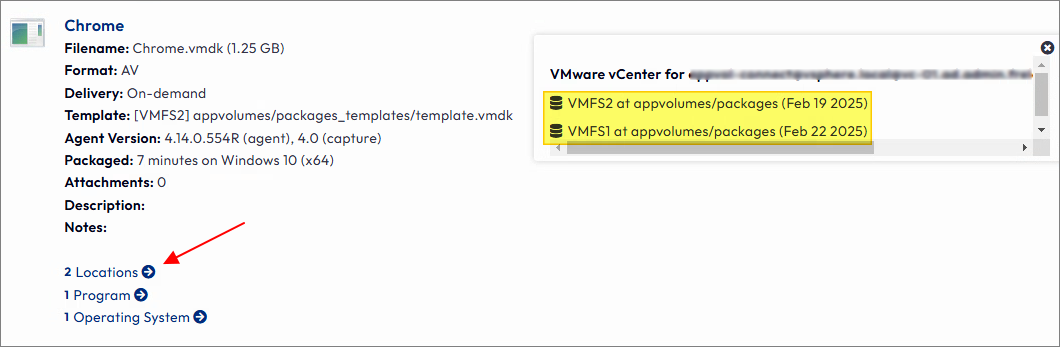
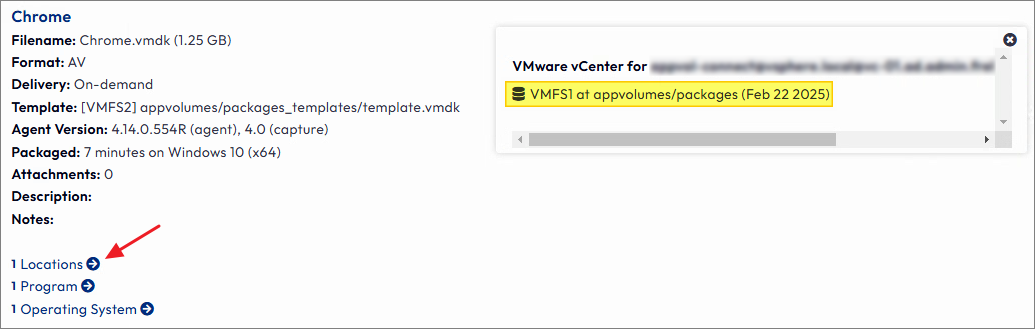
When replication has finished, I can verify that the applications are now present in both locations (datastores).
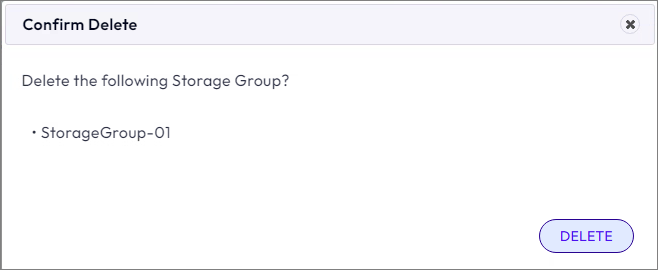
I can now remove the temporary Storage Group. Infrastructure > Storage Groups > Select the Storage Group > Delete Selected

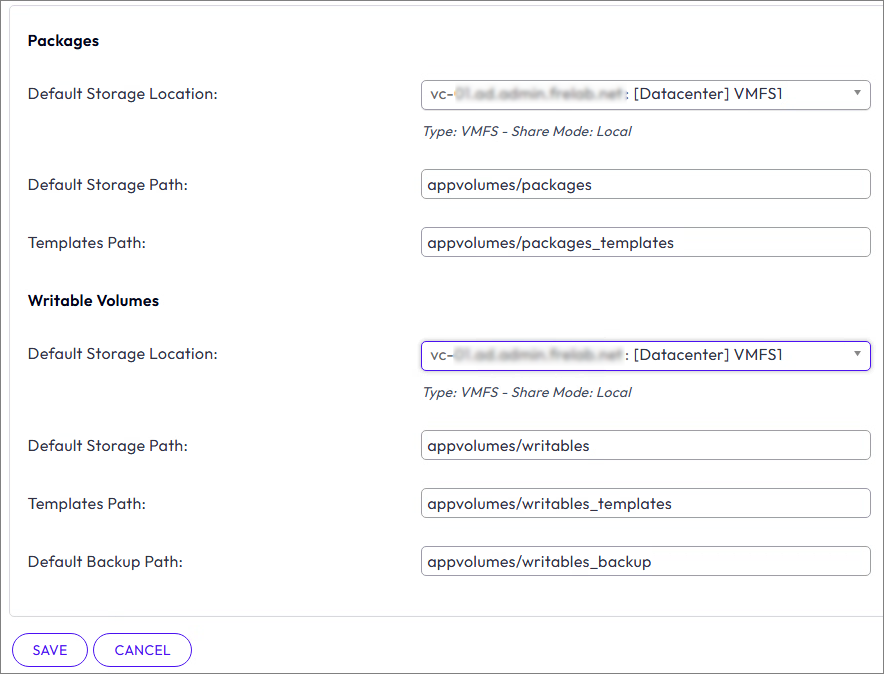
I will also change the Storage default location and upload templates to the new datastore. Configuration > Storage

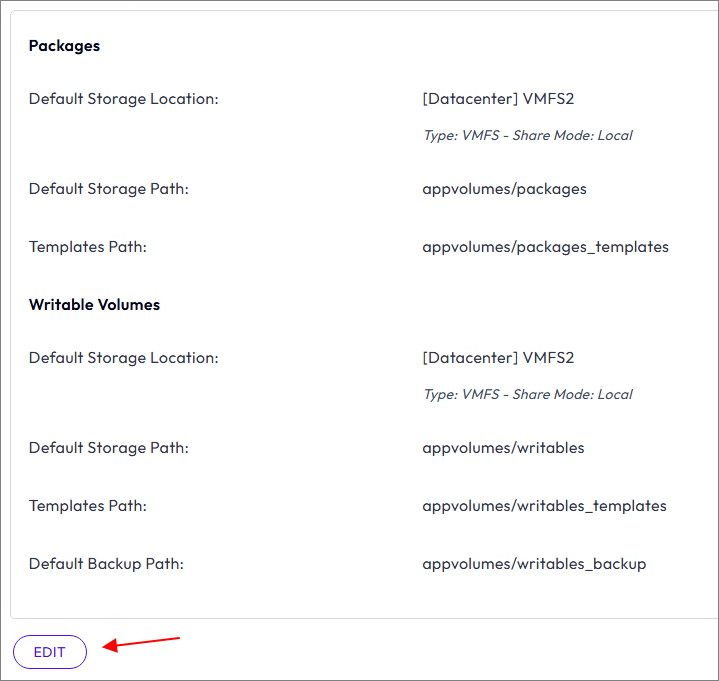
I select my new Datastore, Save, Set Defaults
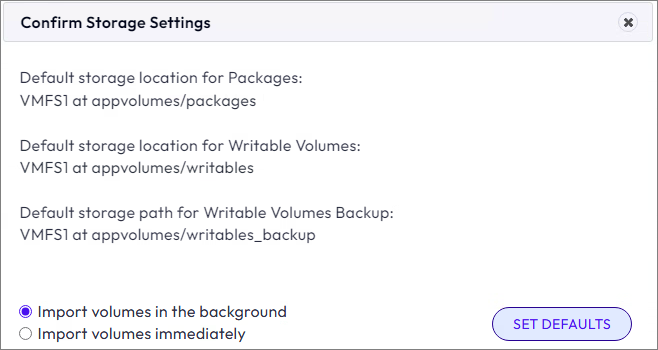
After the Import volumes job has finished, I verify the folders and files in the new datastore.

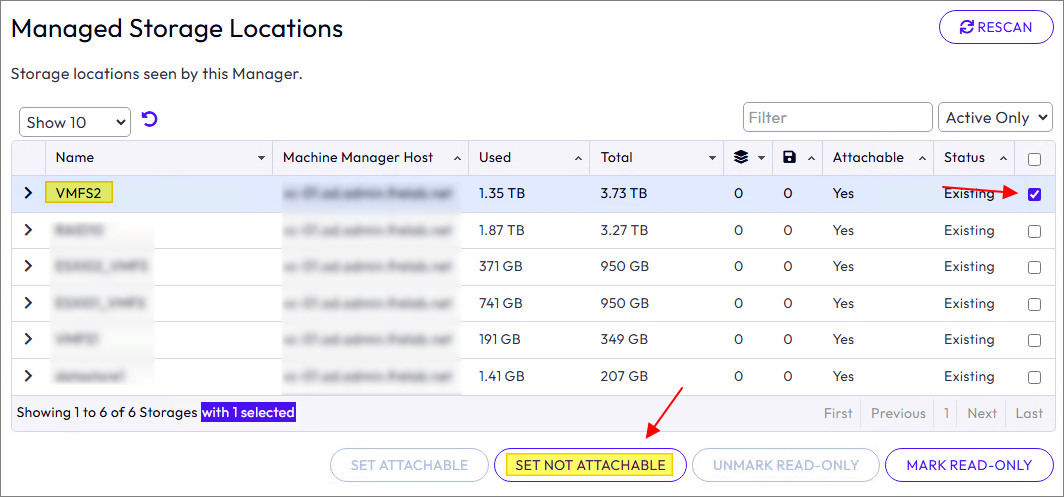
To make sure the users are forced to use applications from the new datastore, I set the old datastore as “Not Attachable”. Infrastructure > Storage > Manage Storage Locations

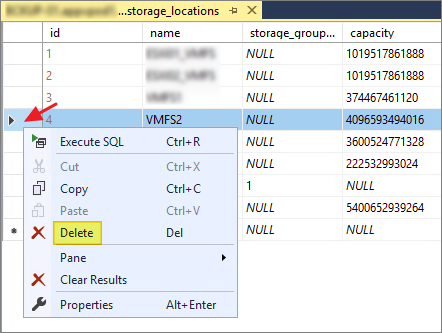
To finish up, I will now remove the metadata from the old datastore. I first connect to the SQL Database using SQL Server Management Studio to get the location ID of the old datastore that is being removed. In the tables list, I find the table named “dbo.storage_locations”. Right-click this table and select “Edit Top 200 Rows”
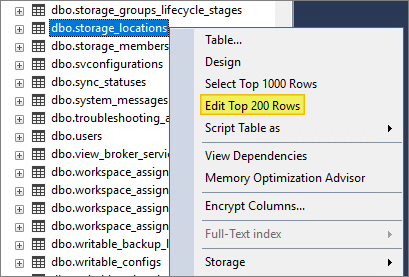
I note the ID number next to the old datastore, in my case this is ID 4

Next, I connect to the RVC console on one of the App Volumes Managers. (See Omnissa KB 2125212 for more information on the App Volumes RVC console). I open an administrative command prompt and navigate to the App Volumes Manager program directory: C:\Program Files (x86)\CloudVolumes\Manager. I launch the RVC console: svmanager_run script\rails console
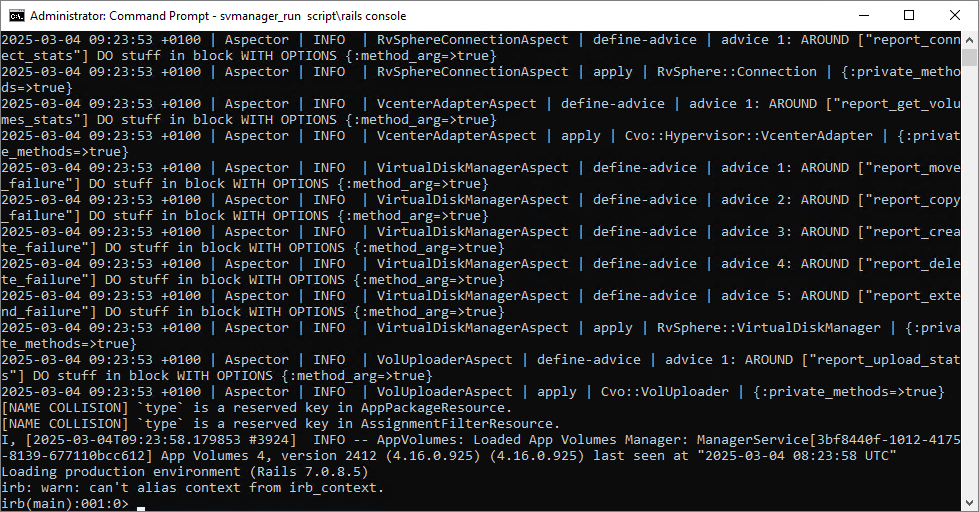
To get a list of object references, I run the following command using the ID number I found in the database
SnapvolFile.where(storage_location_id: 4).each ## ==> 4 being the ID number from the DatabaseTo perform cleanup, I run the following command, using the ID above.
SnapvolFile.where(storage_location_id: 4).destroy_all ## ==> 4 being the ID number from the DatabaseI can now delete the row containing the storage location from the database
Finally, I do a Rescan and verify that the Storage Location is removed from the application

To complete this session I restart the App Volumes Manager services on all App Volumes Manager servers and re-login to verify the configuration and functionality
Omnissa Documentation:
- App Volumes 4 Release Notes
- Omnissa KB 2125212
- Product Interoperability Matrix
- Omnissa Product Documentation
VMware App Volumes planning, deployment etc.
Disclaimer: Every tips/tricks/posting I have published here, is tried and tested in different it-solutions. It is not guaranteed to work everywhere, but is meant as a tip for other users out there. Remember, Google is your friend and don’t be afraid to steal with pride! Feel free to comment below as needed.
