
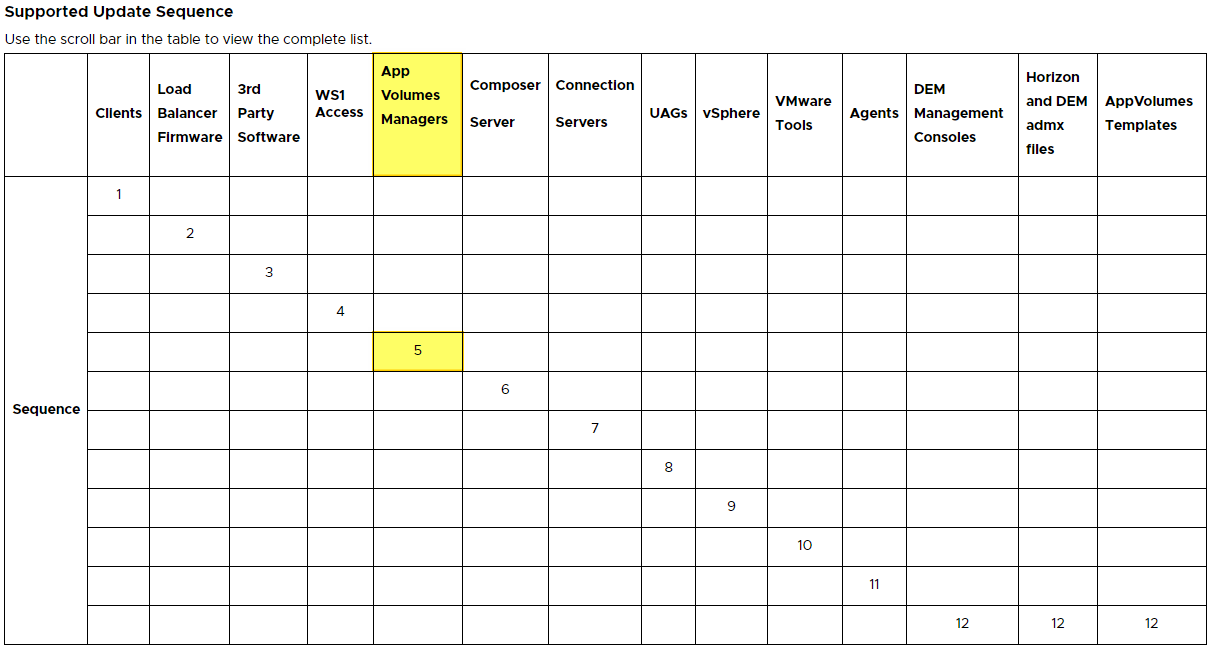
Welcome to my Omnissa App Volumes series. In this session I will describe the steps I took to upgrade my App Volumes Managers to v.2512 (4.20.0.109). According to Omnissa’s official documentation, this should be done as step 5 in the supported update sequence, as shown below.
In environments with more than one App Volumes Manager, as I have, I review VMware’s guidelines for Rolling Upgrades before I do the upgrades, available here: Considerations for Performing Rolling Upgrades
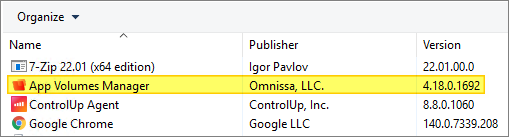
Previously, I have shown how to do this using PowerShell, but in this session I will do this using the GUI. Before I start the upgrade, I verify the installed version
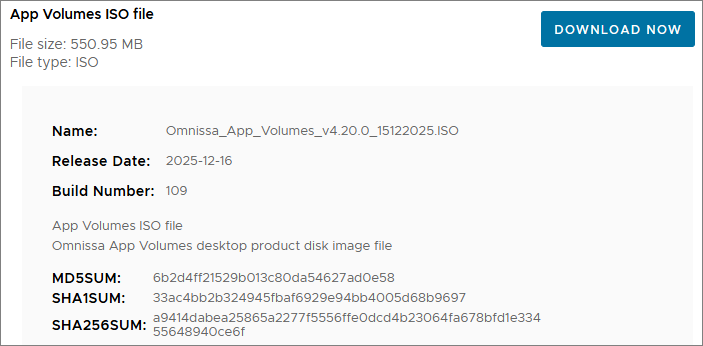
Once done, I start out by downloading the installation media from Omnissa Customer Connect and open the ISO-file.
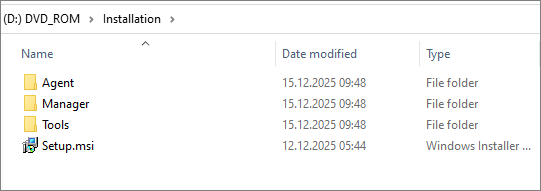
I open the downloaded ISO-file and lauch Setup.msi…
When the App Volumes Installer Setup Wizard launches, Next…

At the App Volumes Component Selection, select Install App Volumes Manager…

I have made myself a backup of before I continue, all good, Next…

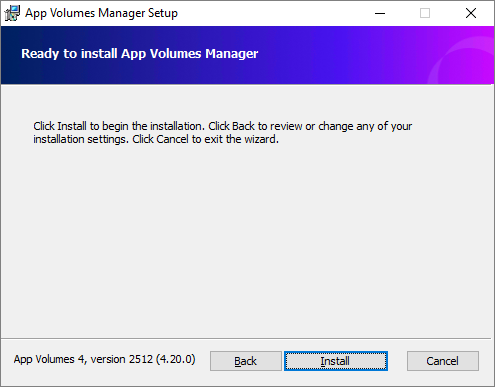
Install…
Finish…
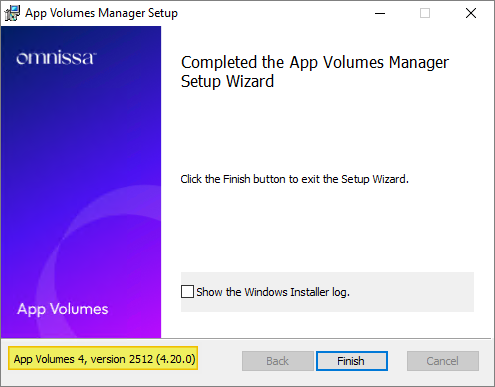
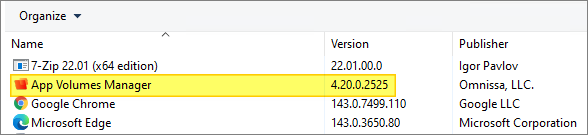
Once done, I verify the upgraded version
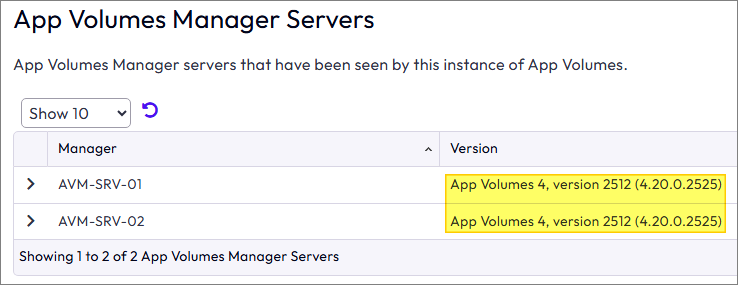
As I have multiple App Volumes Managers I repeat the procedure above with the other AVM. Once done, I log into the GUI and check the status in App Volumes Manager Console
Having finished the upgrades, I can now proceed with updating the App Volumes Agent, posted here: Omnissa – Upgrade Windows Agents to v. 2512
App Volumes 2512 Release Notes
Omnissa Documentation:
- Rebranding Changes in Omnissa Horizon Products (6000681)
- Horizon 8 Upgrade Overview
- Product Interoperability Matrix
- Omnissa Product Documentation
App Volumes planning, deployment etc.
Disclaimer: Every tips/tricks/posting I have published here, is tried and tested in different it-solutions. It is not guaranteed to work everywhere, but is meant as a tip for other users out there. Remember, Google is your friend and don’t be afraid to steal with pride! Feel free to comment below as needed.
