
Release date: October 25th 2023, updated December 30th 2023
Welcome to my ControlUp section. Here I will show how I installed the ControlUp Monitor On-Premises. The ControlUp Monitor role refers to the core functionality within the ControlUp platform responsible for real-time monitoring, management, and analysis of IT environments. It serves as the active component that collects, processes, and presents real-time data from monitored resources to provide insights and facilitate efficient IT infrastructure management. The ControlUp Monitor is a windows service that you install on a Windows Server dedicated for running the monitor. A functional monitor is required to access IOP and SOP.
The key roles and functions of the ControlUp Monitor:
- Real-time Monitoring – The Monitor continuously collects real-time data from various endpoints, such as virtual desktops, servers, applications, and user sessions. It gathers information on performance metrics, resource utilization, application health, and user activities.
- Data Collection and Aggregation – It aggregates and centralizes data collected from agents installed on monitored resources. This data includes CPU usage, memory consumption, disk activity, network performance, application responsiveness, and more, providing a holistic view of the IT environment.
- Performance Analysis and Insights – The Monitor processes collected data to provide real-time insights into system performance and health. It generates alerts, identifies performance bottlenecks, and highlights anomalies, enabling administrators to proactively address issues before they impact operations.
- User Session Management – ControlUp Monitor offers detailed insights into user sessions, including active sessions, logged-in users, session performance, and resource consumption per user. This information helps administrators troubleshoot user-related issues and optimize session performance.
- Application Monitoring and Management – It monitors application behavior, performance, and resource usage in real-time. Administrators can track application responsiveness, identify resource-intensive applications, and ensure optimal application performance.
- Alerting and Automated Actions – Based on predefined thresholds and configured policies, the Monitor generates alerts for critical events or performance deviations. It allows for the setup of automated actions to address issues promptly, such as restarting services or sending notifications.
- Remote Actions and Troubleshooting – ControlUp Monitor enables administrators to take remote actions on monitored endpoints, such as running scripts, terminating processes, or initiating remote control sessions for troubleshooting purposes, all from a centralized interface.
- Integration and Scalability – It integrates seamlessly with other ControlUp components and offers scalability to support large-scale deployments. It can efficiently handle data collection from a multitude of endpoints while maintaining minimal impact on system performance.
The ControlUp Monitor provides real-time visibility, actionable insights, and efficient management capabilities for IT administrators. It forms the backbone of the solution by continuously monitoring, analyzing, and ensuring the optimal performance of IT environments.
As pr. ControlUp’s documentation here: Configure and Install a ControlUp Monitor, the prerequisites for the ControlUp Monitor are:
- Windows Server 2016, 2019, or 2022. Windows client OS are not supported
- .NET Framework installed:
- For ControlUp version 8.6.5 or higher: .NET Framework 4.8
- ControlUp version 8.6 or lower: .NET Framework 4.5 or higher
- Allow RPC inbound traffic.
- Enable administrative shares on the monitor machine.
- Powershell 5.X
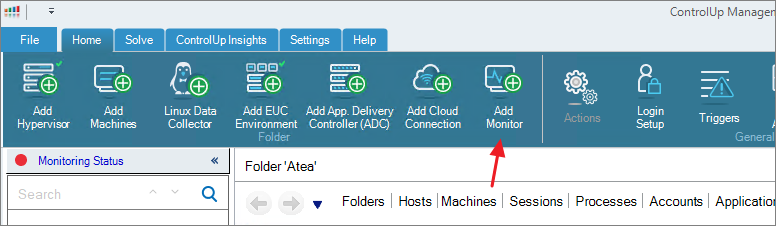
The installation of ControlUp Monitor is done from the ControlUp Real-Time Console. I go to Home -> Add Monitor
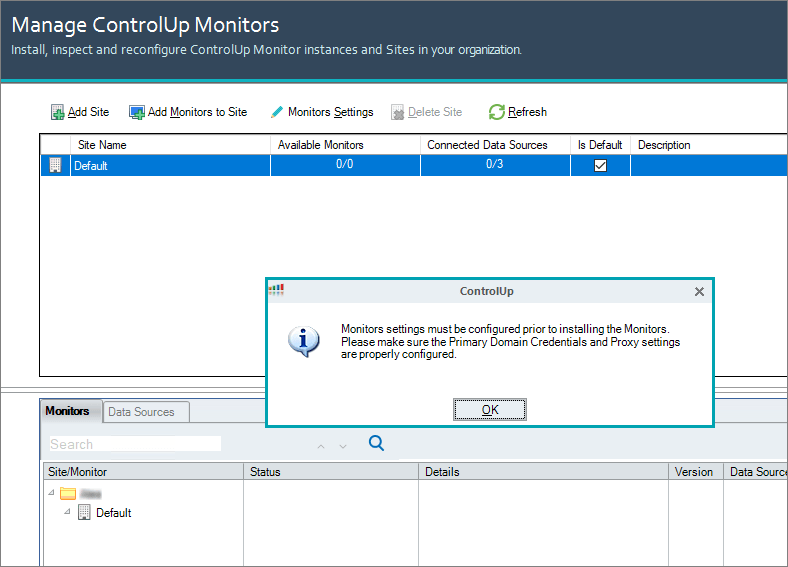
A popup message appears, OK…
Next, I configure a domain credential with permissions to deploy agents and manage machines. Add Domain…

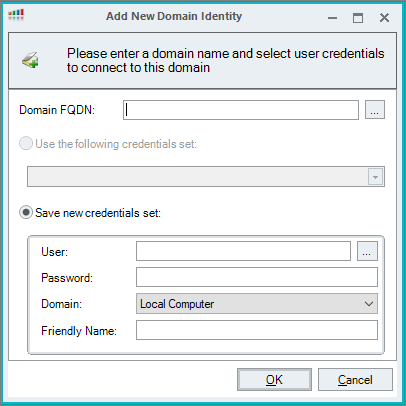
Once the credential is configured, I click Validate, all OK, Next..

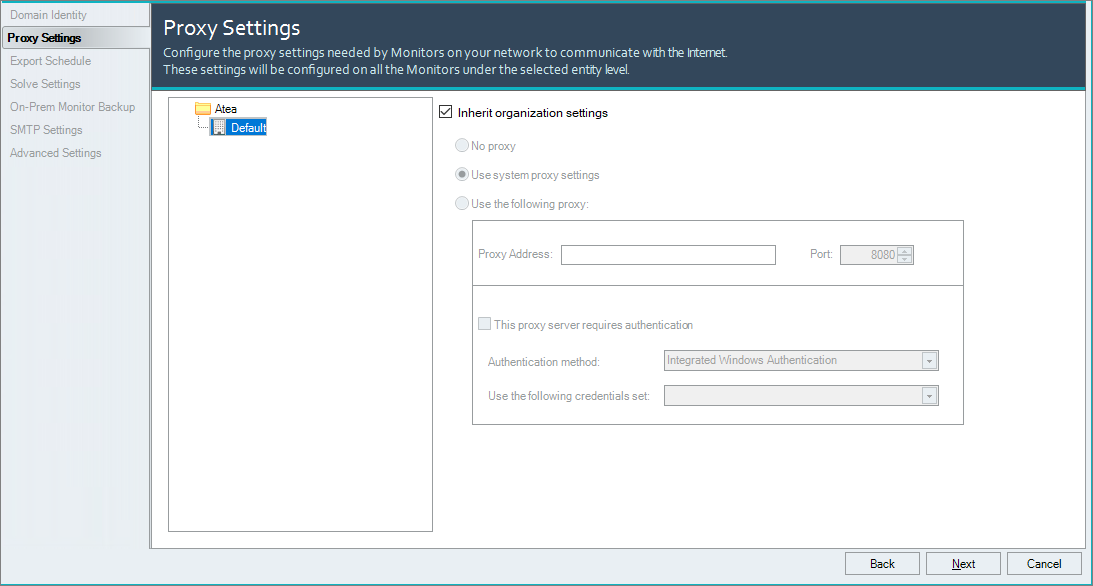
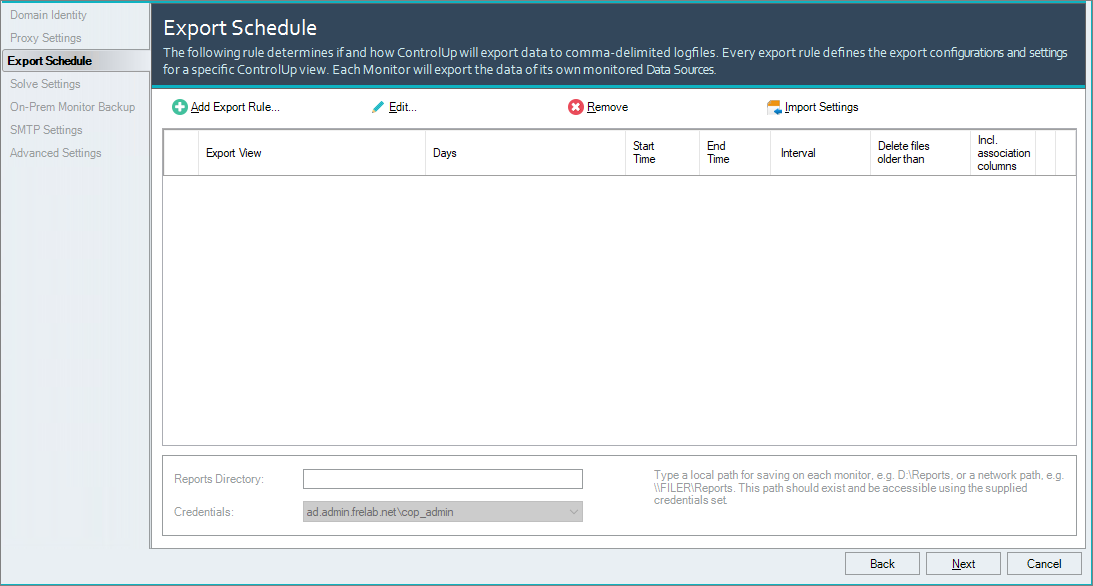
I wont be configuring any Proxy or Export Schedule, Next…
I provide the FQDN of my Solve Server, Next…

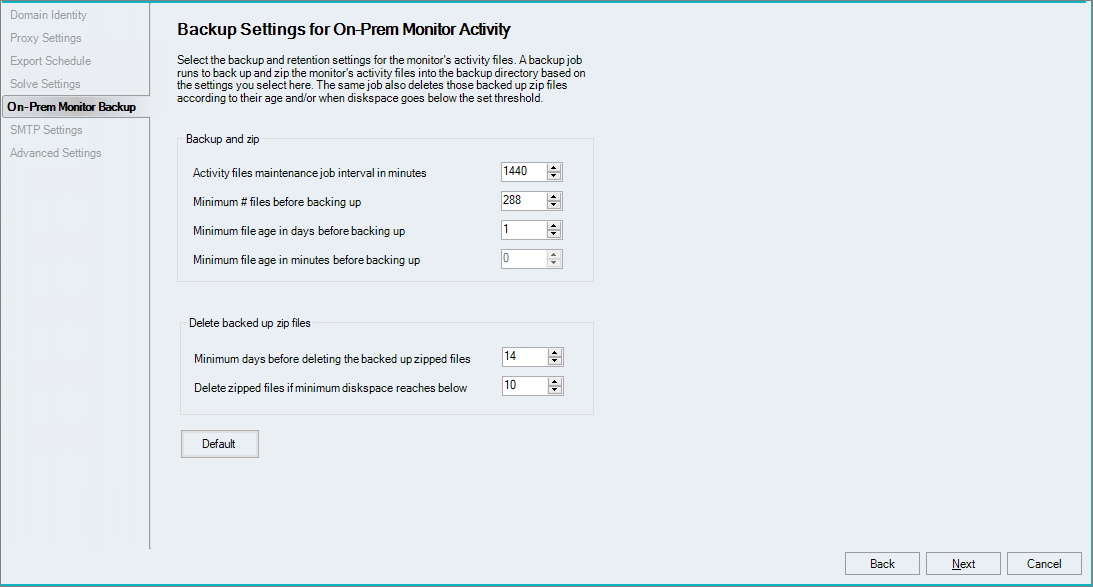
The Backup Settings looks good, Next…
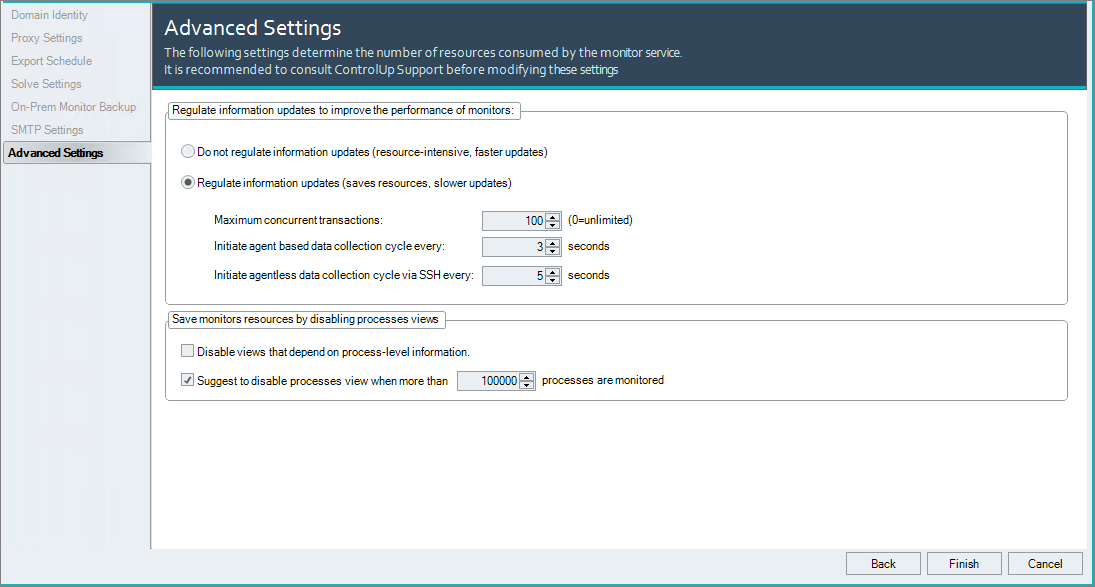
I wont be configuring SMTP at this time and the Advanced Settings looks good, Next, Next…

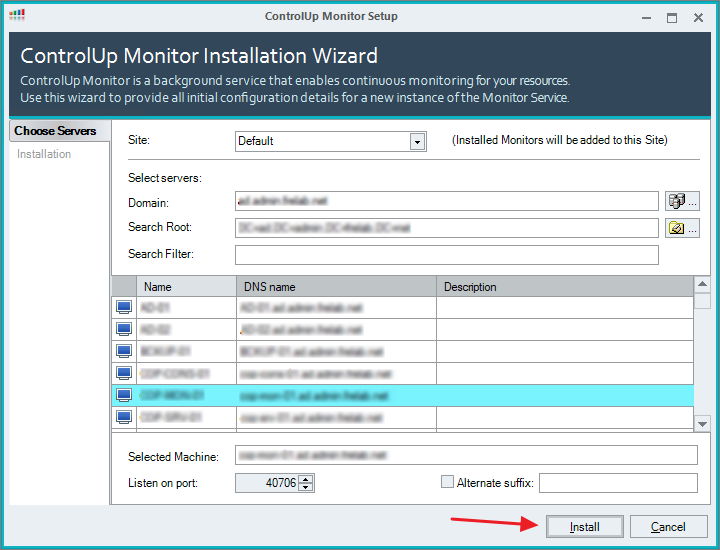
I can now select the server I’m going to install Monitor on, Install…
Once the Monitor is successfully installed, Finish…

ControlUp On-Premises setup:
- Solve
- Insights
- ControlUp Server
- Real-Time Console
- Define Credentials
- Connect VMware vCenter
- Connect VMware Horizon
- Monitor
- IOP Forwarder
- Agent (Silent)
- RemoteDX
Official ControlUp documentation:
- Welcome to ControlUp for VDI & DaaS
- Configure and Install a ControlUp Monitor
- ControlUp Architecture – On-Premises
Other miscellaneous Tips & Tricks
Disclaimer: Every tips/tricks/posting I have published here, is tried and tested in different it-solutions. It is not guaranteed to work everywhere, but is meant as a tip for other users out there. Remember, Google is your friend and don’t be afraid to steal with pride! Feel free to comment below as needed.
