
Release date: August 14th 2024
Welcome to my Omnissa Horizon series. In this session I will describe how I upgraded the Horizon Agent in my template to v. 2406. According to the Horizon 8 2406 Release Notes, these are the changes to the Horizon Windows Agent:
- Horizon Agent for Windows
- Beginning with this agent release, memory usage has been reduced for Blast Worker process when using BlastCodec with a client version 2406 or later.
- The Blast protocol adds support for H264 encoding acceleration on AMD GPUs in agent machines deployed on Microsoft Azure using AMF (Advanced Media Framework) APIs.
- The Blast Optimization Profiles for Dynamic Environment Manager have been updated with the latest tuning parameters. The different profiles have pre-configured values for the Blast Optimizer as well as other underlying protocol settings.
According to Omnissa’s official documentation, this agent-upgrade should be done as step 11 in the supported update sequence.

I start out by downloading the installation media from Omnissa Customer Connect

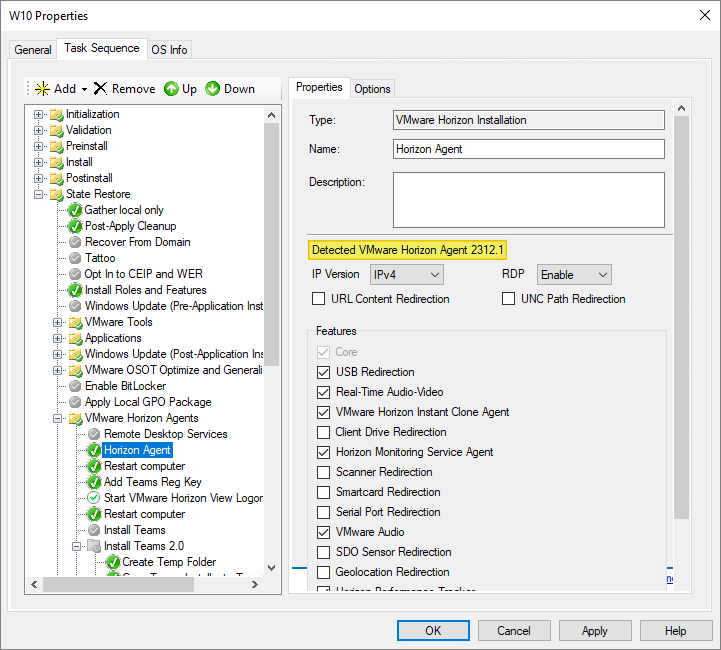
As I’ve gone over to using MDT to create Horizon templates, described here: Automating Template Creation & Maintenance, I will update the Horizon Agent in the Deployment Share, and run through the task sequence to create a new template. Before I begin, I open the task sequence and can see that it has found the 2312.1 Agent in the Deployment Share.
I close the Deployment Workbench MMC before I continue. To update the Horizon Agent in the Deployment Share I will first delete the existing agent and msi-folder from the Deployment Share

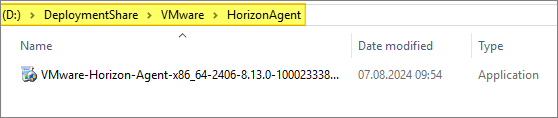
Next, I copy the new VMware Horizon Agent executable to the “HorizonAgent” folder in the Deployment Share. It is important to make sure that the executable isn’t blocked by Windows Security, therefore I right-click the exe-file, select Properties and tick the Unblock box, if it exists. This also applies to the other executable files under the “D:\DeploymentShare\VMware” folder.

When I now open the Deployment Workbench MMC, the new Horizon Agent will be identified and the msi-files will be automatically extracted.


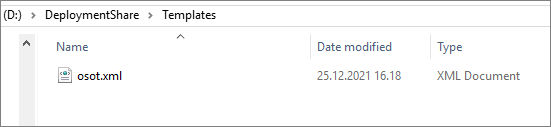
As my task sequence is based on the osot.xml template, I will also have to edit this file
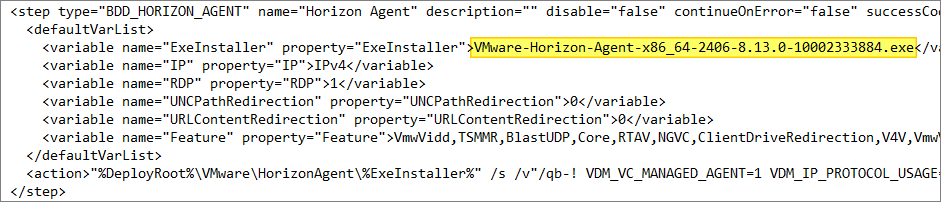
I locate the “Horizon Agent” step and adjust the name of the “ExeInstaller” to match the executable I copied in earlier
Once done, I open Deployment Workbench MMC and verify that the correct Horizon Agent is found, and update the deployment Share, before I run through the task sequence and push the new template to my desktop pool.
Having finished the Windows Agent upgrade, I can now proceed with upgrading the agent in my Linux template, covered here: Horizon – Upgrade Linux Agent to v. 2406
Omnissa Documentation:
Horizon planning, deployment etc.
Disclaimer: Every tips/tricks/posting I have published here, is tried and tested in different it-solutions. It is not guaranteed to work everywhere, but is meant as a tip for other users out there. Remember, Google is your friend and don’t be afraid to steal with pride! Feel free to comment below as needed.
