
Modified
Welcome to my HAProxy Server series. In this sub-section I will show how I exported the certificates from my HAProxy server to be used with my VMware UAG’s. I will be exporting the certificates used on the HAProxy serving the desktop.frelab.net URL. My Letsencrypt certificate is as shown below:
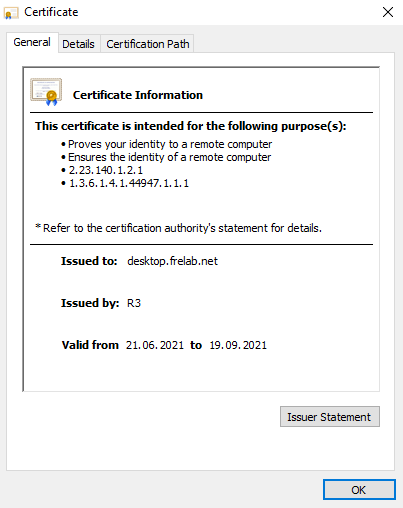
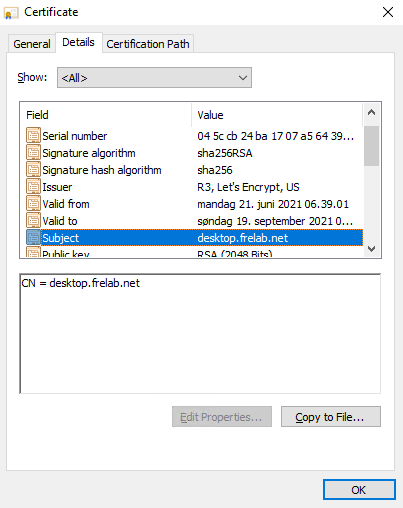
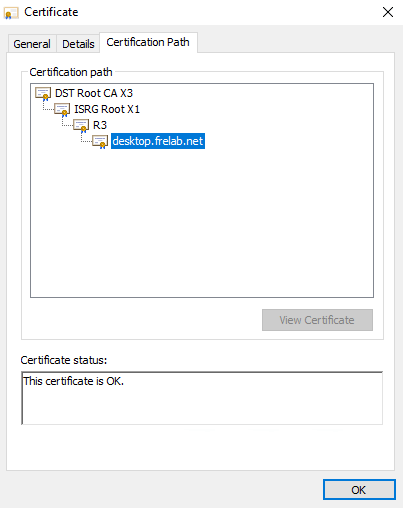
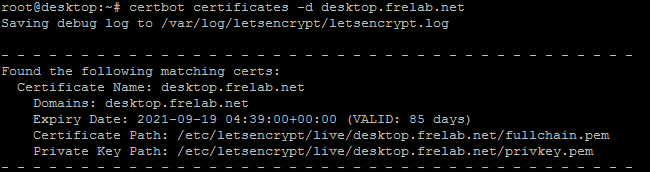
To view the certificate details and path, I run the following command:
sudo certbot certificates -d desktop.frelab.net
Now I will request a new certificate for my HAProxy.
sudo certbot -d desktop.frelab.net --manual --preferred-challenges dns certonly
Once renewal is done, I merge the two files into my certificate “/etc/ssl/desktop.frelab.net/desktop.frelab.net.pem“
sudo cat /etc/letsencrypt/live/desktop.frelab.net/fullchain.pem \
  /etc/letsencrypt/live/desktop.frelab.net/privkey.pem \
| sudo tee /etc/ssl/desktop.frelab.net/desktop.frelab.net.pem
I verify the HAProxy config and restart the HAProxy service
haproxy -c -f /etc/haproxy/haproxy.cfg
sudo service haproxy restart
Next, I create a tar-file containing the folder with the certificate
sudo tar -chvzf certs.tar.gz /etc/letsencrypt/live/desktop.frelab.net

I can now connect using winscp and transfer the tar-file as needed. Once done I extract the files

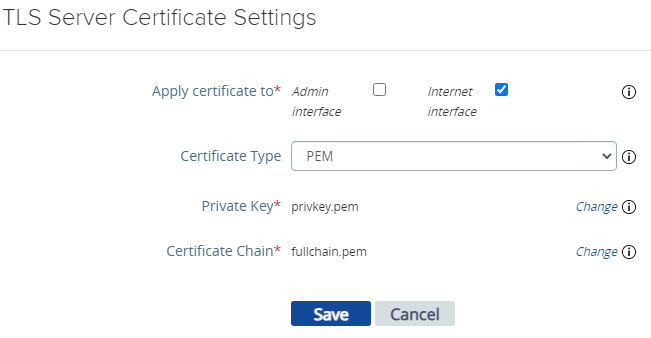
Finally, I upload private key and certificate chain to my VMware Unified Access Gateways
Finally I do a controlled reboot of my UAG’s and verify the certificate status and expiry date.
Step-by-Step HAProxy Installation Guide
Disclaimer: Every tips/tricks/posting I have published here, is tried and tested in different it-solutions. It is not guaranteed to work everywhere, but is meant as a tip for other users out there. Remember, Google is your friend and don’t be afraid to steal with pride! Feel free to comment below as needed.