
Release date: August 22th 2021
Welcome to my Microsoft Tips & Tricks section. In this session I will describe what steps i took to install MS Windows Deployment Service. This session is actually a part of my bigger session about VMware Horizon – Automating Template Creation & Maintenance
The installation can be divided into the following sub-sections:
- Windows Assessment and Deployment Kit
- Windows Preinstallation Environment
- Microsoft Deployment Toolkit
- Windows Deployment Services
Before I start the installation, I have create a virtual Machine and installed MS Windows Server 2016. This server is domain joined and patched with all updates from MS Windows Update. Next, I download the necessary install media:
- Windows Assessment and Deployment Kit & Windows Preinstallation Environment (It is very important to download the correct version that support the Windows 10 version you are planning to use, otherwise there will be problems down the line when configuring the task-sequence etc.
- Microsoft Deployment Toolkit
Windows Assessment and Deployment Kit
Install Windows Assessment and Deployment Kit
I start by launching the downloaded adksetup.exe, the default path looks good, Next…

I wont be sending any anonymous data, Next…

I click Accept for the License Agreement”

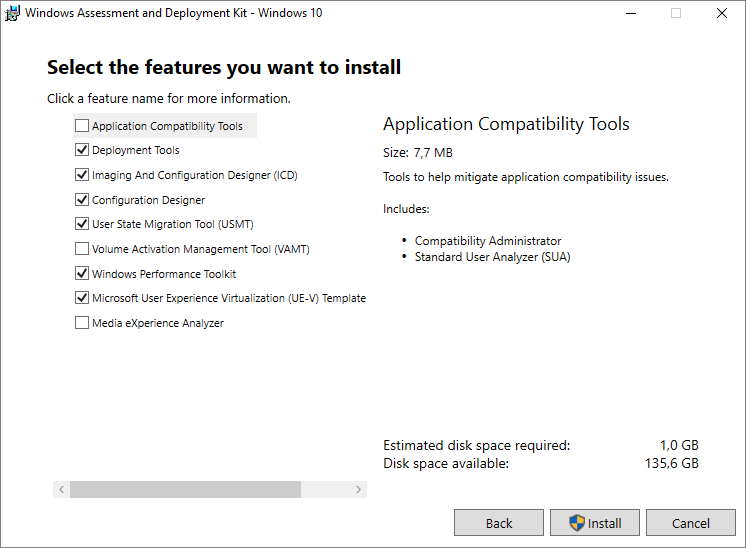
I select the features I will be using, Install…
Once the installation is done, I click Close and continue with the Windows PE Add-On installation below

Windows-Preinstallation-Environment
Install Windows Preinstallation Environment
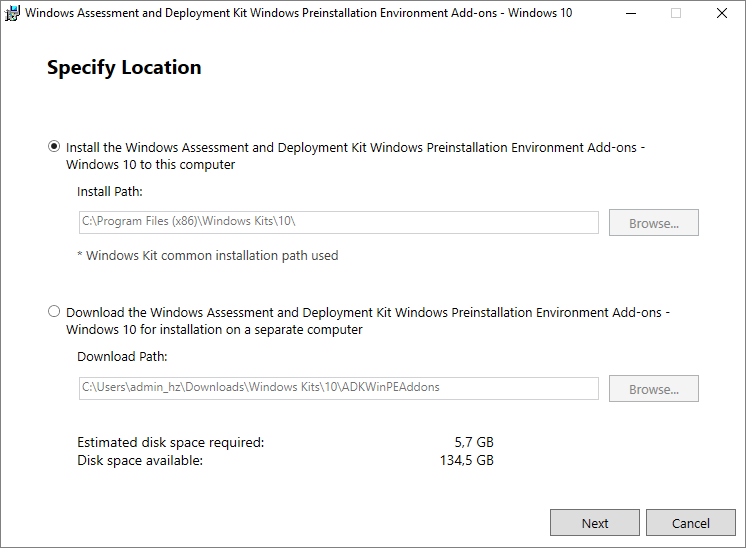
To install the Windows Preinstallation Environment (PE) ADK Add-on, I run ADKWINPESETUP.exe, accept the proposed installation path ensuring that I have adequate disk space, Next…
I wont be sending any anonymous data, Next…

I click Accept for the License Agreement”

The feature is automatically selected and I click Install. From the estimated disk space required info, I can tell this will take a little time.

Once the installation is done, I click Close…

Microsoft Deployment Toolkit
Install Microsoft Deployment Toolkit
I launch MicrosoftDeploymentToolkit_x64.exe to start the Setup Wizard for the Microsoft Deployment Toolkit, Next…

I agree to the end-user license agreement, Next…

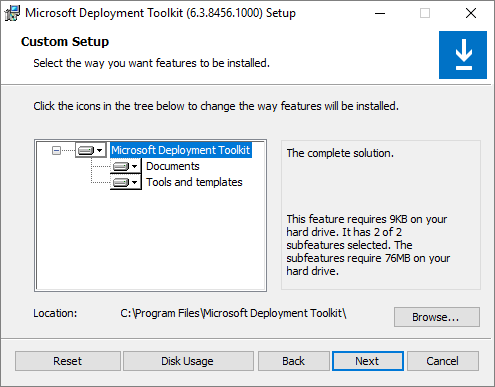
I select the feature I will be installing, Next…
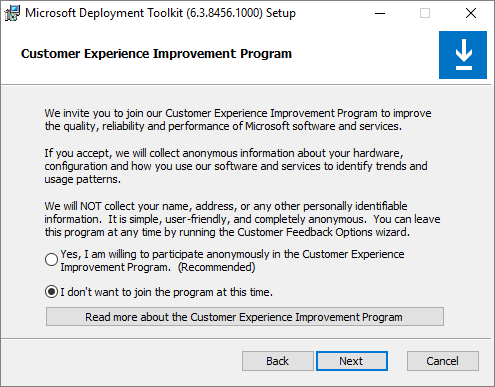
I wont be joining the CEIP as of now, Next…
Install…
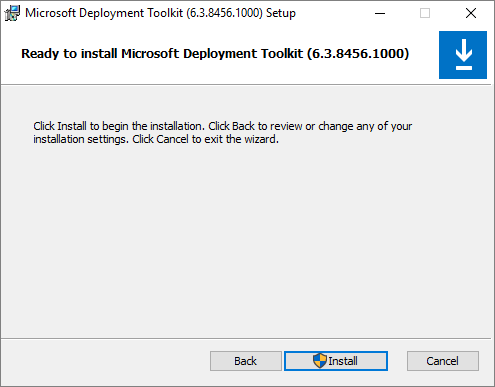
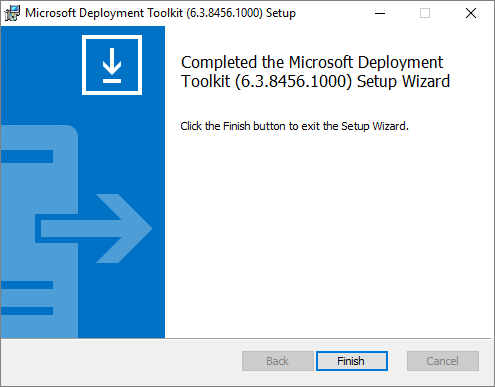
Once the installation completes, Finish…
Windows Deployment Services
Set up the Windows Deployment Services
To set up the Windows Deployment Service, I launch Server Manager and click Add roles and features…

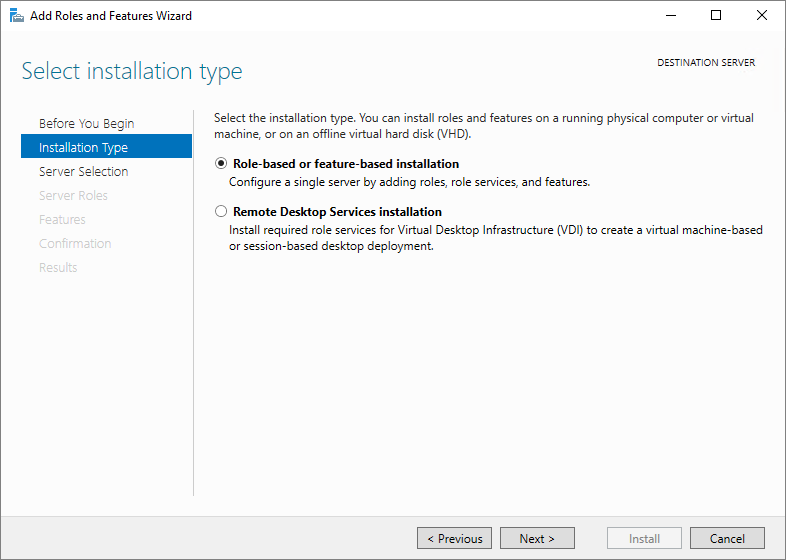
I choose “Role-based or feature installation”, Next…
I select my server, Next…

From the Roles selection list, I choose Windows Deployment Service, Next. I also add the additional features, once confirmed I click Next…


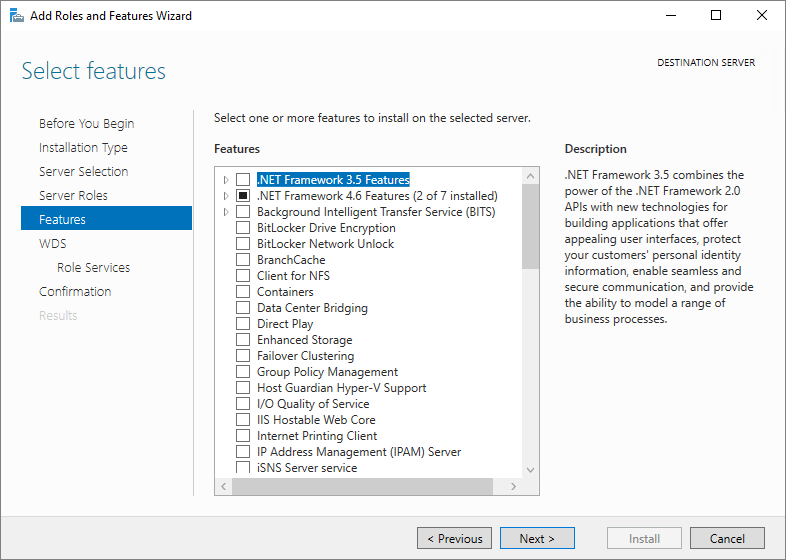
I wont be installing any additional features, Next…
I verify that my environment adheres to the prerequisites listed in “Things to note”, Next…

I confirm the service roles I selected, Next…

I confirm my installation selections, Install..

Once the installation is finished, I restart my server and continues with the configuration-job.

This concludes my session about installing and preparing my MS Windows Deployment server. I can now continue with the configuration, which I have documented here: Microsoft Windows Deployment Service – Configure
VMware Digital Workspace Tech Zone: Using Automation to Create Optimized Windows Images for VMware Horizon VMs
Microsoft Tips & Tricks section
Disclaimer: Every tips/tricks/posting I have published here, is tried and tested in different it-solutions. It is not guaranteed to work everywhere, but is meant as a tip for other users out there. Remember, Google is your friend and don’t be afraid to steal with pride! Feel free to comment below as needed.
