Release date: February 27th 2020
Welcome to my Veeam Backup & Replication Series. In this quick session I will describe how I set up a linux server as backup proxy in my lab. Why set up a proxy in Veeam? Well, in many production environments the implementation of a proxy will give a positive impact on throughput and lowering the time backup-jobs take. In certain environments, setting up proxies in different segments of the network, will be necessary out of security reasons as well. Veeam B&R supports both MS Windows and Linux proxies. Using a Windows server as a proxy will from time to time trigger a new Windows server license, which isn’t desirable. In those cases, using a linux server instead, is an economic and smart solution. In this session, I will show how I set up an Ubuntu 16.04 LTS server as proxy in my lab. An important prerequisite is to install ssh when installing the OS of the Ubuntu server. Veeam has a very nice documentation about this feature here: Veeam B&R Backup Proxy
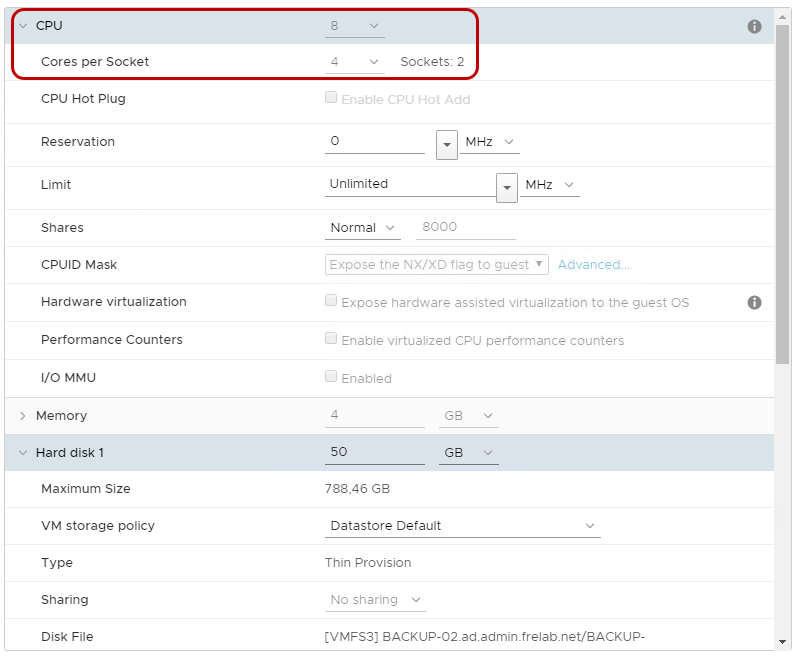
First of all, when creating the virtual machine for this Ubuntu server, the most important setting is vCPU, as this is the resource that will make the most difference to the backup jobs. As we can see from the picture below, I will give this VM 8 vCPU’s.
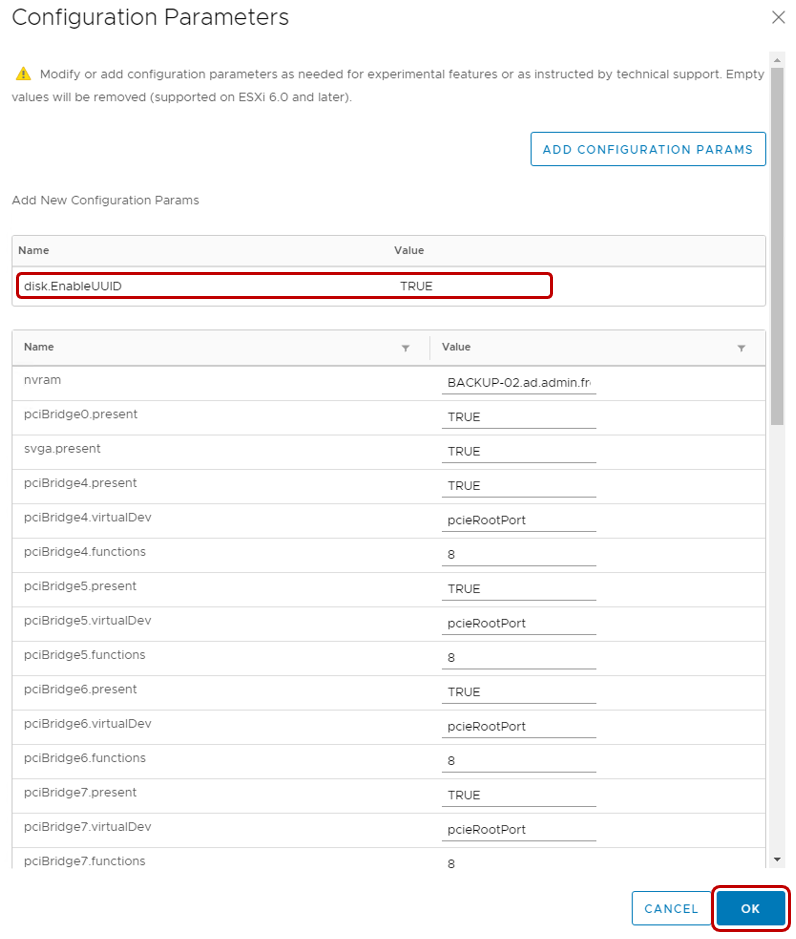
I make sure to add the “disk.EnabeUUID” configuration parameter to the virtual machine.
Before I add my linux proxy, I review one of my backup jobs, shown below. As we can see, the job normally takes around six minutes, in this case 6 minutes and 7 seconds. The processing rate is at 169 MB/s and the primary bottleneck is the network. This is not a very poor performance for my old lab-setup.

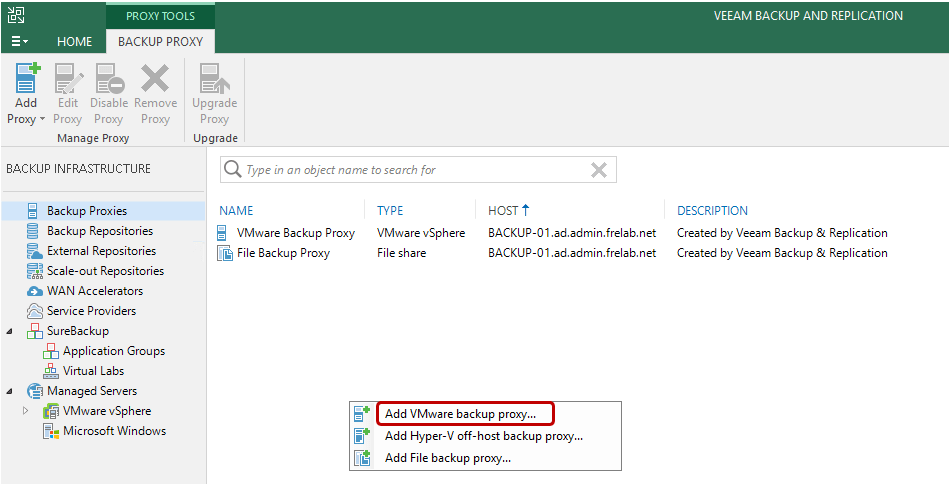
Adding a backup proxy is done from the Backup Infrastructure tab. Here I can see my existing proxies, which is the Windows server running Veeam B&R. I right-click and select “Add VMware backup proxy”
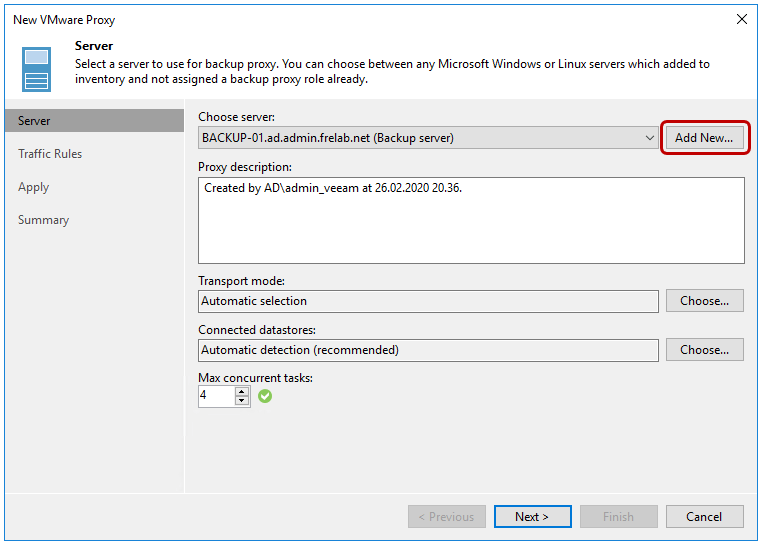
When the «New VMware Proxy» wizard launches, I select Add New…
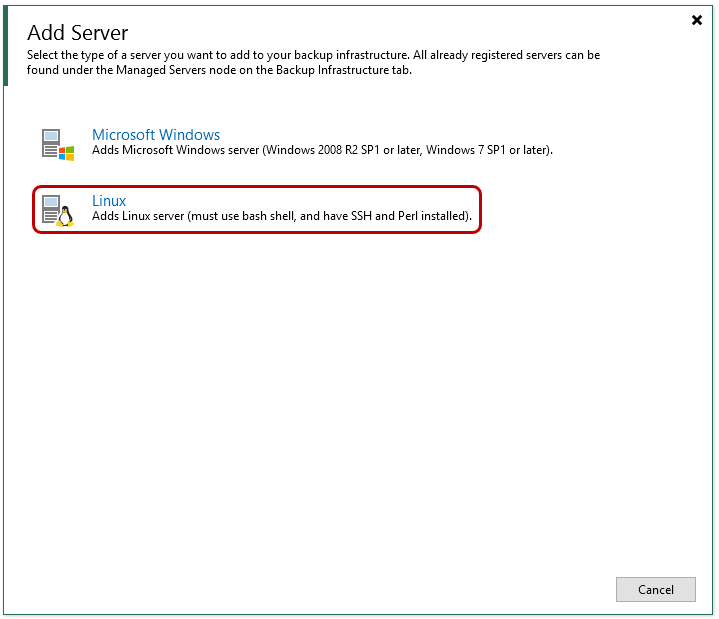
I now get the possibility to choose either Microsoft Windows or Linux, for this session I will select Linux
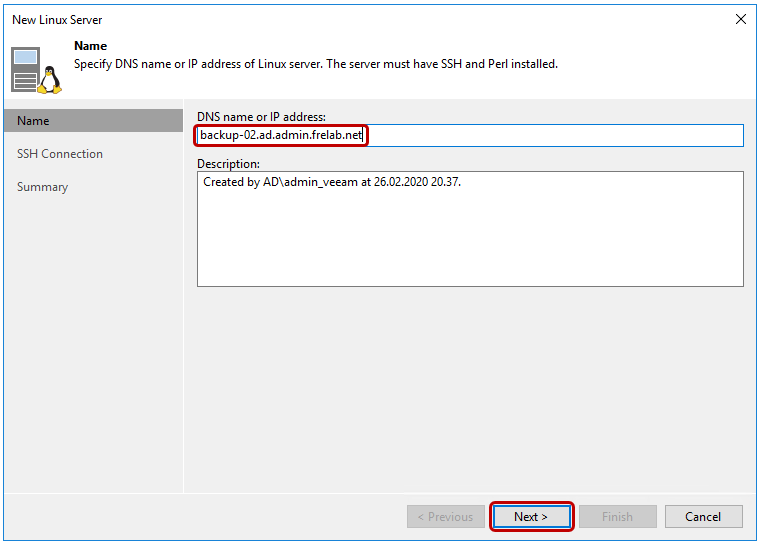
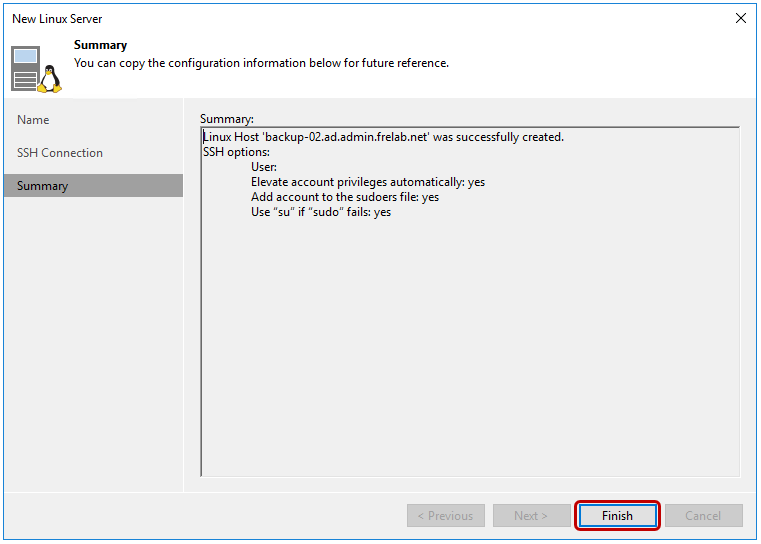
I provide the DNS-name of my linux-server, Next…
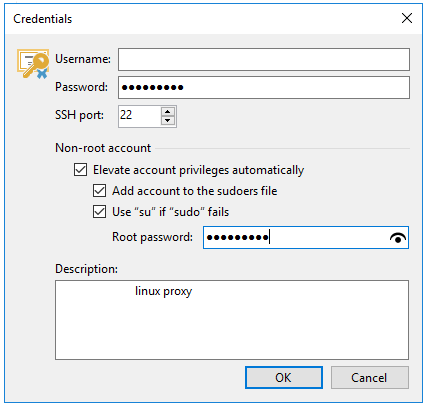
I provide the credentials needed to connect to the linux server via SSH.

I enter the username and password and a little sudo-config, OK…
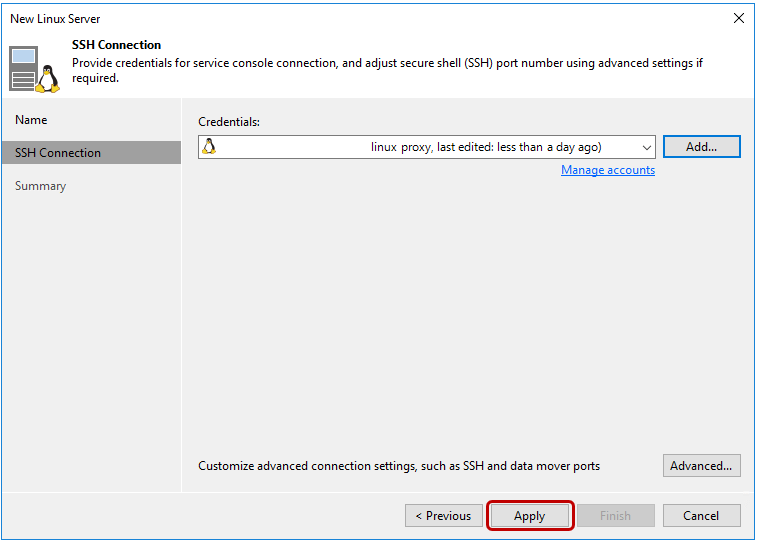
Now that the credentials have been added, I continue by clicking Apply…
I verify the SSH key fingerprint and confirm the trust, Yes…

Finish…
I choose my new backup proxy, verify the Nr of connections, Next…

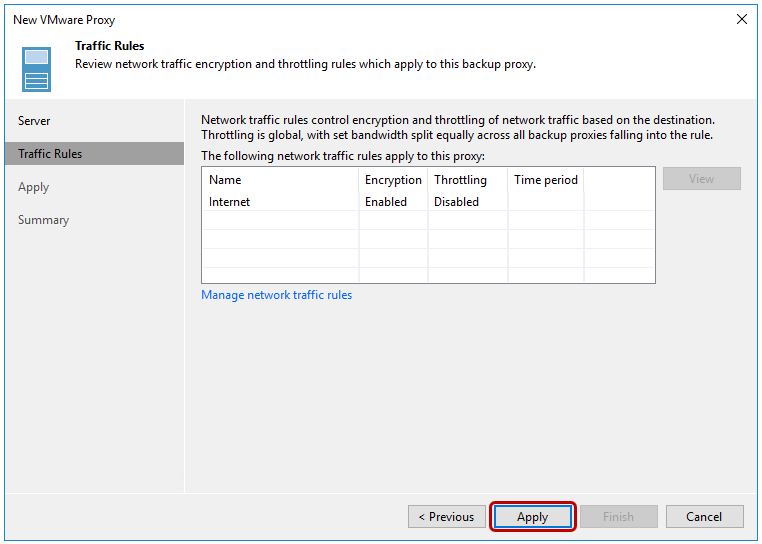
I accept the default choices for traffic rules, Apply…
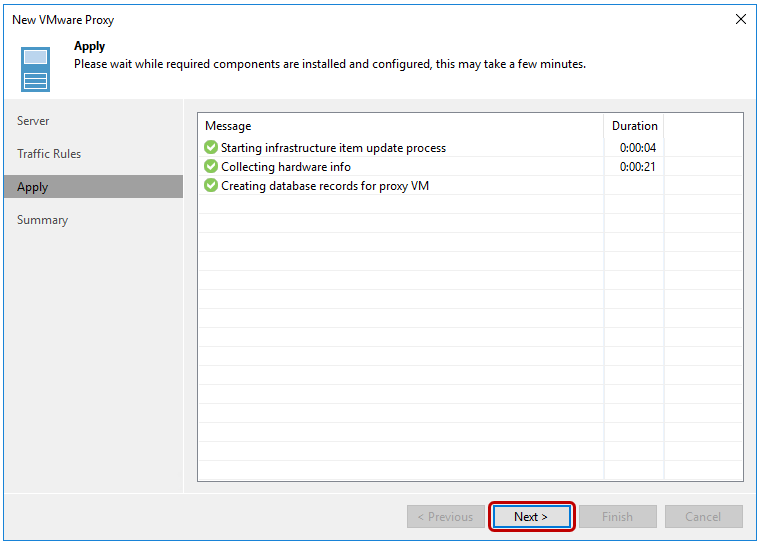
Green is good, Next…
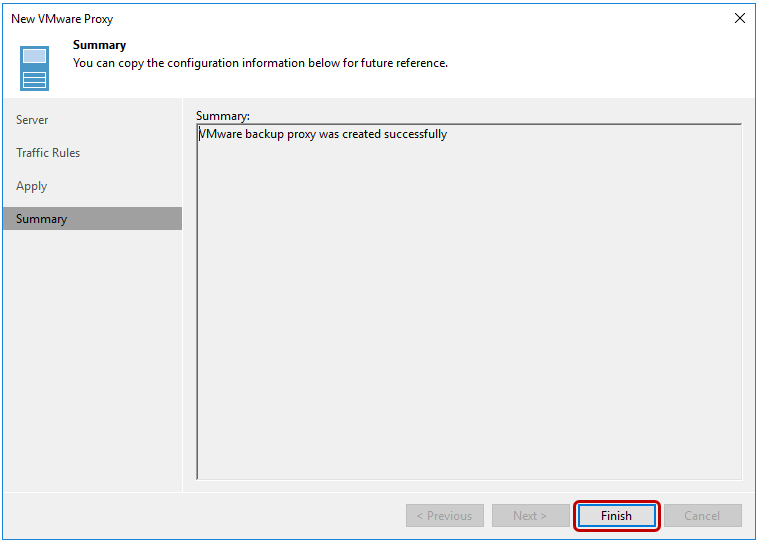
Finish…
Next, I adjust the job settings in order to use my new backup proxy. In the storage section, I click Choose…
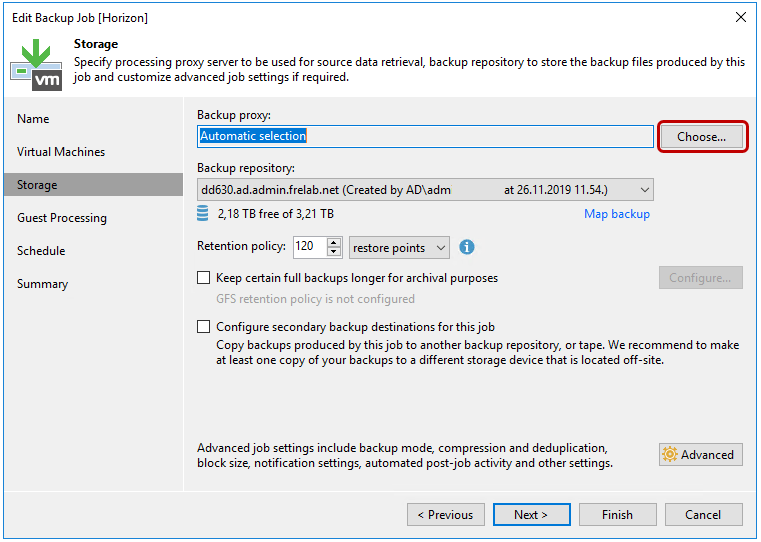
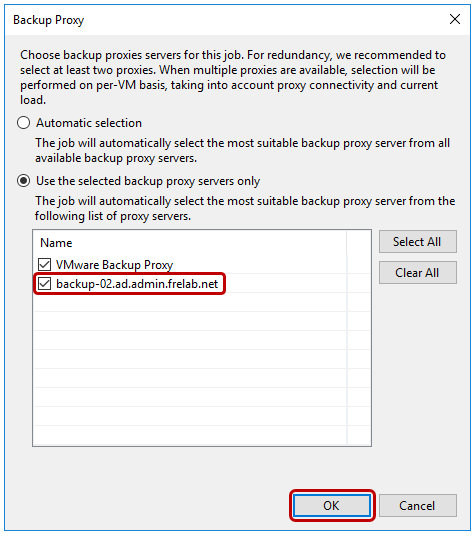
Veeam will by default automaticall choose the most suitable proxy whe running the backup jobs, but for this session I wil force Veeam to use my new Linux proxy, OK…
As we can see, when I re-run the backup job I tested with to begin with in this session, the results are a little different. Previously the job used over six minutes, this is now a little over 4 minutes, although the processing rate is a little lower. We can also see that the network is no longer the bottleneck, but instead my old vSphere-rig is.

There are many good reasons for choosing a Linux proxy for Veeam, as I mentioned in the beginning of this session. There are of course also reasons why not to use this kind of proxy. This decision must be made based by the requirements for the environment in which the Veeam Backup server resides. But, knowing of this option, is preferable to spending another MS Windows Server license on backup performance.
Veeam Backup & Replication product page
Other miscellaneous Tips & Tricks
Disclaimer: Every tips/tricks/posting I have published here, is tried and tested in different it-solutions. It is not guaranteed to work everywhere, but is meant as a tip for other users out there. Remember, Google is your friend and don’t be afraid to steal with pride! Feel free to comment below as needed.