
Modified:
Welcome to my Yubikey section. As part of my upcoming post about SmartCard setup in Omnissa Horizon using Yubikey, I needed to prepare my CA with certificate templates. In this section I will show how to create a SmartCard certificate template that can be used to let users Self-Enroll to get SmartCard certificates for their Yubikeys. This session is built on Yubico’s own documentation, although I added screenshots and adjusted/clarified some sections I thought were unclear. As I only have a MS CA server, that is the one that is used in this session.
Auto-enrollment for smartcards simplifies the deployment of security certificates, but it requires careful initial configuration to avoid potential issues like certificate failures or account security risks. The main pros are automation, scalability, and reduced IT burden, while the cons include the need for a robust PKI, potential for misconfiguration leading to security gaps, and the risk of failed auto-renewal or expired certificates impacting users
Setting up the smart card login certificate-template for user self-enrollment
It is important to create a smart card login certificate template in the CA before distributing YubiKeys to your users who will enroll themselves.
To create a smart card certificate-template for user self-enrollment
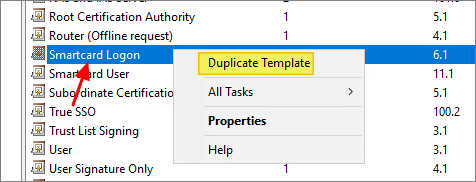
- Right-click the Start button and select Run, type certtmpl.msc and press Enter. Click Certificate Templates, locate and right-click Smartcard Logon, and select Duplicate Template.
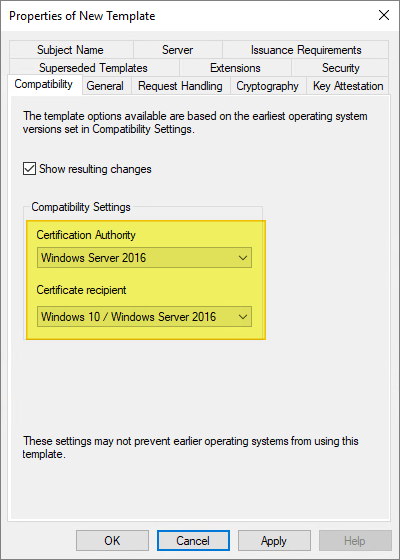
On the Compatibility page, make the following changes as needed:
- Select the operating system where the Certification Authority resides.
- For Certificate recipient select the oldest Windows operating system in your domain environment.
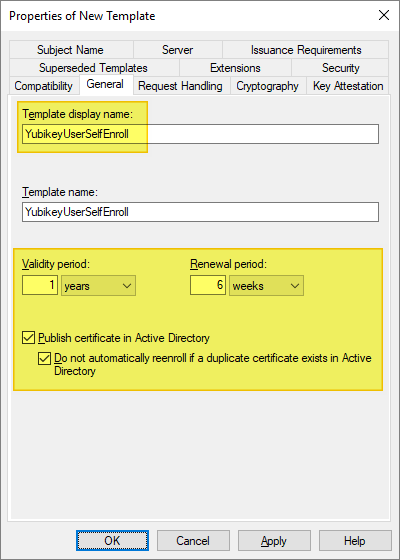
Select the General tab, and make the following changes, as needed:
- For Template display name / Template name, we recommend that you choose a short name without spaces such as YubiKey or YubicoSC.
- For Validity period, ensure the timeframe you specify does not exceed the restrictions for your Certification Authority.
- Optionally, to prevent users from re-enrolling multiple certificates without Administrator approval:
- Select the option Publish certificate in Active Directory.
- Select the option Do not automatically reenoll if a duplicate certificate exists in Active Directory.
Select the Request Handling tab, and make the following changes as needed:
- For Purpose, select Signature and encryption.
- Ensure the option to Include symmetric algorithms allowed by the subject is selected.
- Ensure the option to Renew with the same key is NOT selected. This option may be disabled if Windows 7 and below are included in the Compatibility settings.
- Ensure the option For automatic renewal of smart card certificates, use the existing key if a new key cannot be created is selected.
- Ensure this option to Prompt the user during enrollment is checked.

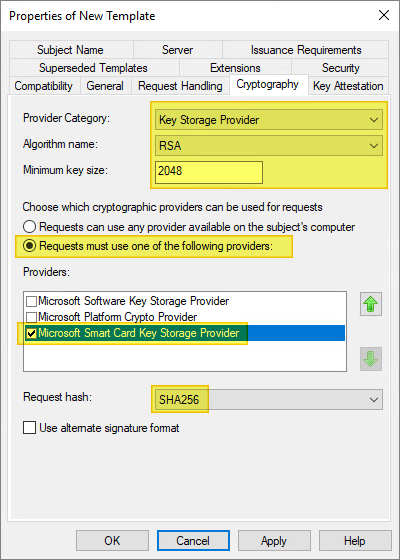
On the Cryptography tab, make the following changes, as needed:
- For Provider category, click the arrow and select Key Storage Provider from the dropdown.
- For Algorithm name, select either RSA, ECDH_P256, or ECDH_P384 from the list displayed.
- Note: ECDH_P521 is not supported.
- Note that if an ECDH algorithm is selected, the client Windows machines need to have Elliptic Curve Cryptography (ECC) Certificate Login support added using Group Policy or by editing the registry. See the following section for instructions.
- For Minimum key size, if you selected RSA in the previous step, enter 2048. If you selected ECDH_P256 or ECDH_P384 in the previous step, this field is automatically populated.
- Select the option for Requests must use one of the following providers:
- Under Providers, select Microsoft Smart Card Key Storage Provider.
- Click the arrow for Request hash and select SHA256 from the list displayed.
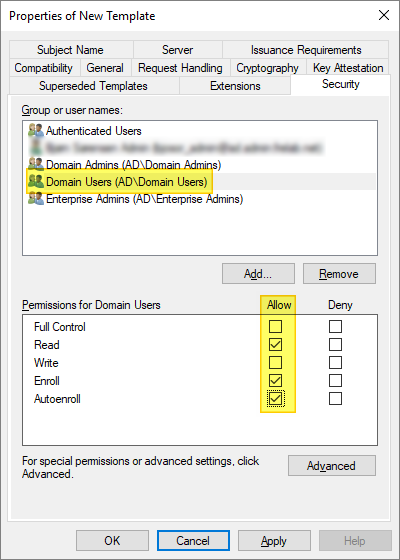
On the Security tab, make the following changes, as needed:
- Group or user names: Confirm the domain group you want to allow access to the template is listed. If not, click Add, enter the name of the group, and then click OK.
- Permissions for [group name]: If users will be auto-enrolling using the built-in Windows functionality, ensure the options are checked for Read, Enroll, and Autoenroll.
Click Apply, and then click OK to close the template properties window. Close the Certificate Templates window.
To add the template to the certification authority, right-click the Start button and select Run. Type certsrv.msc and press Enter.
Click Certification Authority, double-click your server, double-click Certificate Templates, right-click on the white space within the center pane, select New and then select Certificate Template to Issue.
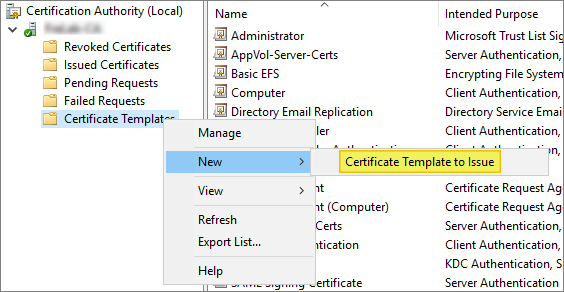
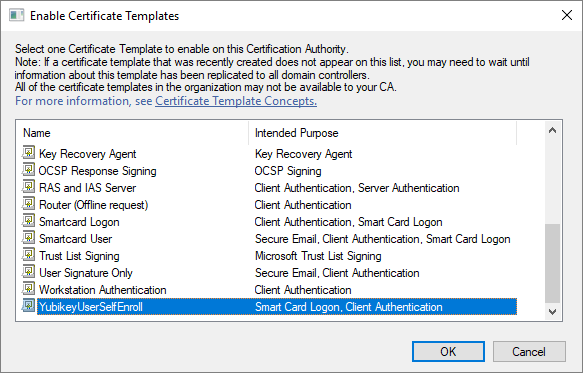
Locate and select the recently created self-enrollment template, and then click OK
Create Group Policy to enable auto-enrollment
I will create a new Group Policy which I will link to the OU holding my User’s computer accounts.
Right-click the Start button and select Run. Type gpmc.msc and press Enter. I navigate to the OU holding User’s computer accounts and create and link a new GPO here. Right-click on the group policy and then select Edit.
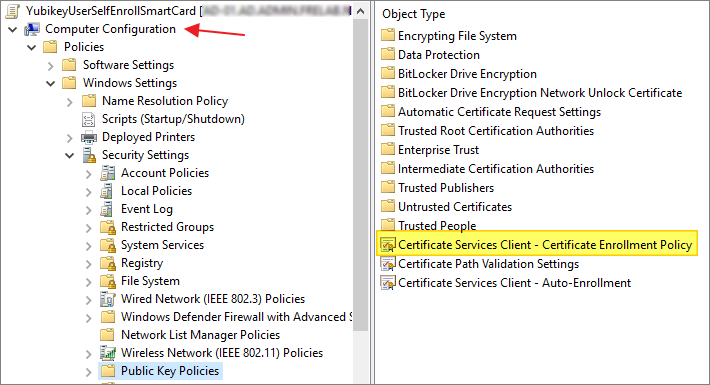
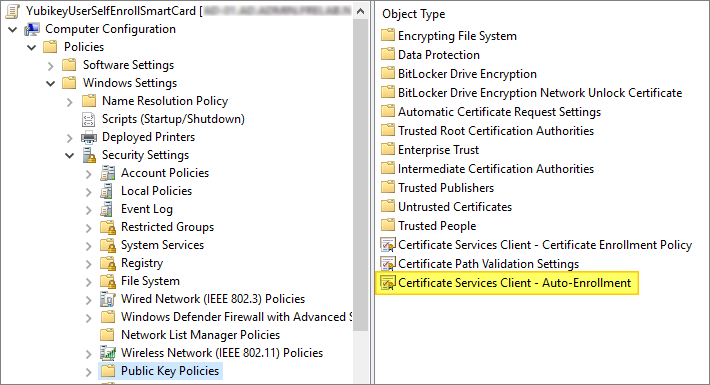
Expand Computer Configuration -> Policies -> Windows Settings -> Security Settings -> Public Key Policies.
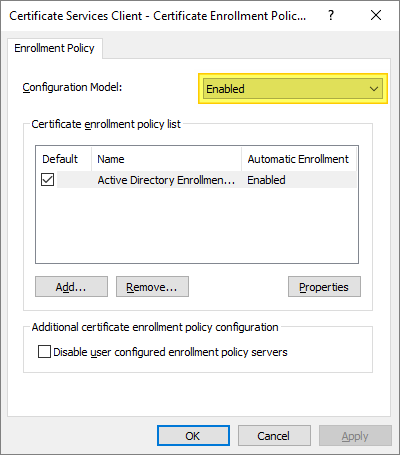
- Right-click Certificate Services Client – Certificate Enrollment Policy and select Properties.
- Click the arrow for Configuration Model and select Enabled, then click OK…
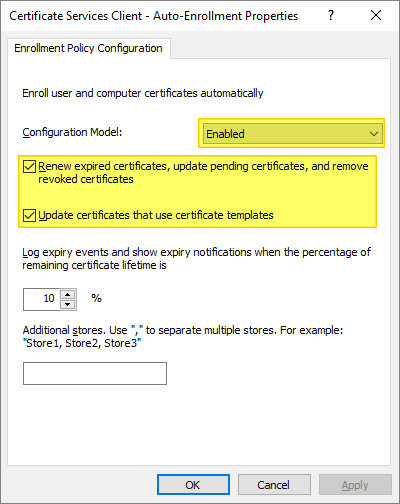
- Right-click Certificate Services Client – Auto-Enrollment and select Properties.
- Click the arrow for Configuration Model and select Enabled.
- Select the checkbox for Renew expired certificates, update pending certificates, and remove revoked certificates.
- Select the checkbox for Update certificates that use certificate templates, then click OK…

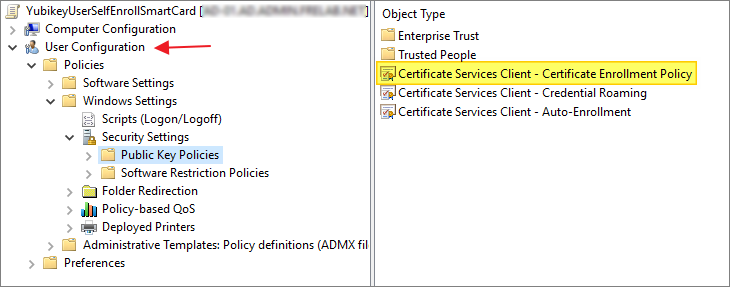
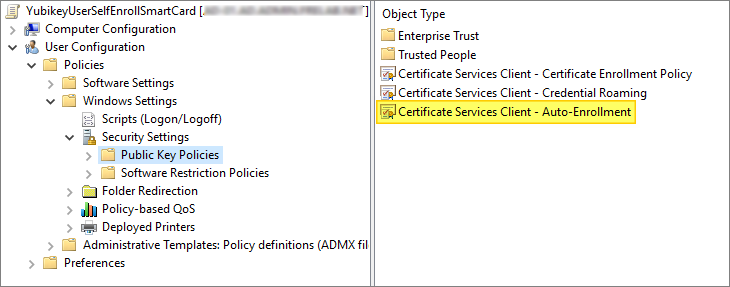
Expand User Configuration -> Policies -> Windows Settings -> Security Settings -> Public Key Policies.
- Right-click Certificate Services Client – Certificate Enrollment Policy and select Properties.
- Click the arrow for Configuration Model and select Enabled, then click OK…

- Right-click Certificate Services Client – Auto-Enrollment Policy and select Properties.
- Click the arrow for Configuration Model and select Enabled.
- Select the checkbox for Renew expired certificates, update pending certificates, and remove revoked certificates.
- Select the checkbox for Update certificates that use certificate templates, then click OK…
Using auto-enrollment to enroll users
With auto-enrollment enabled on the Windows Server and local systems via Group Policy, the user’s experience is straightforward.
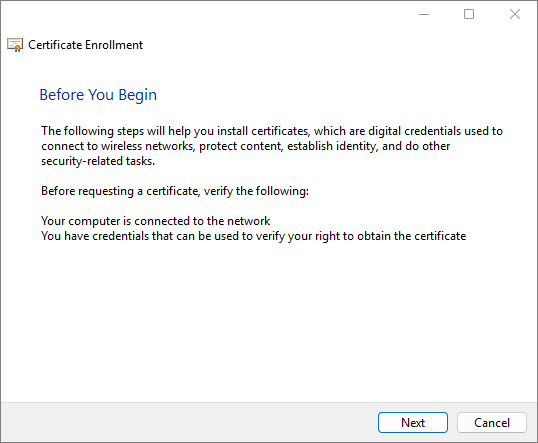
Log in with a user account on a Windows 11 PC connected to the domain. A Certificate Enrollment notification appears above the System Tray. Click the Certificate Enrollment notification to open the Certificate Enrollment wizard. If the popup has disappeared (or didn’t initially appear) click the arrow in the System Tray to expand the list of options and click on the certificate icon.

On the initial screen, click Next.
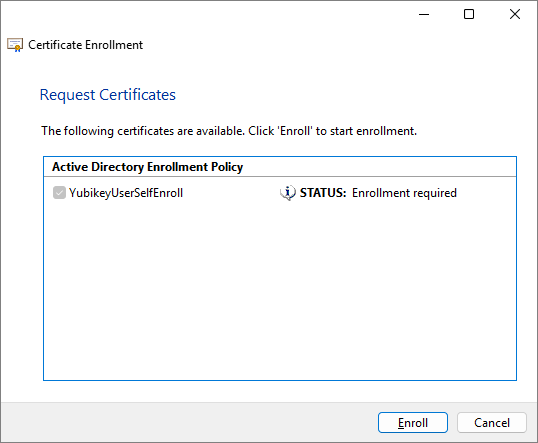
Select the appropriate certificate template and click Enroll. If multiple certificate templates are listed, assuming the template was set up properly, “STATUS: Enrollment required” should appear next to the correct template.
Enter your YubiKey PIN and then click OK. If a custom PIN has not been set, enter the default PIN: 123456.
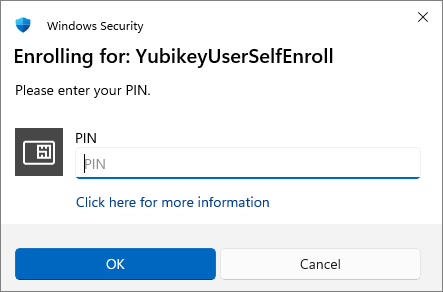
- If you are not prompted for a PIN, and the process completes successfully, double-check that you selected Microsoft Smart Card Key Storage Provider under Providers in your template’s Cryptography tab. If a setting on your template needs to be changed, it is recommended to delete it and create a new one with a unique name, to ensure that the changes made take effect.
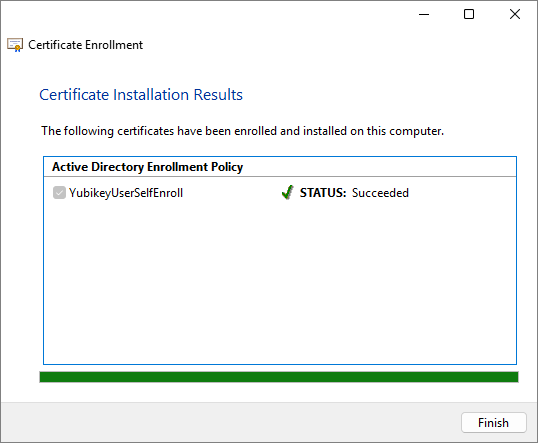
Windows enrolls the YubiKey for Windows login. The process may take several seconds, depending on the network connection to the server running the Certification Authority. Once completed, click Finish.
Yubico Documentation:
- Setting up smart card login for enroll on behalf
- YubiKey PIN and PUK user management in Windows
- Setting up smart card login for user self-enrollment
Yubico Troubleshooting:
- Smart card basic troubleshooting
- Troubleshooting the auto-enrollment prompt not showing
- Resetting the smart card (PIV) application on the YubiKey
Disclaimer: Every tips/tricks/posting I have published here, is tried and tested in different it-solutions. It is not guaranteed to work everywhere, but is meant as a tip for other users out there. Remember, Google is your friend and don’t be afraid to steal with pride! Feel free to comment below as needed.
