
Release date: December 28th 2020
Welcome to my HAProxy section. In this sub-section I will describe how I deployed the virtual machine for my HAProxy Server. This process is pretty straight forward and done from VMWare vSphere Client. I begin with launching the “New Virtual Machine” wizard. I Select “Create a new virtual machine”, Next…

I give the virtual machine a name and select a location, Next…

Select a compute resource, Next…

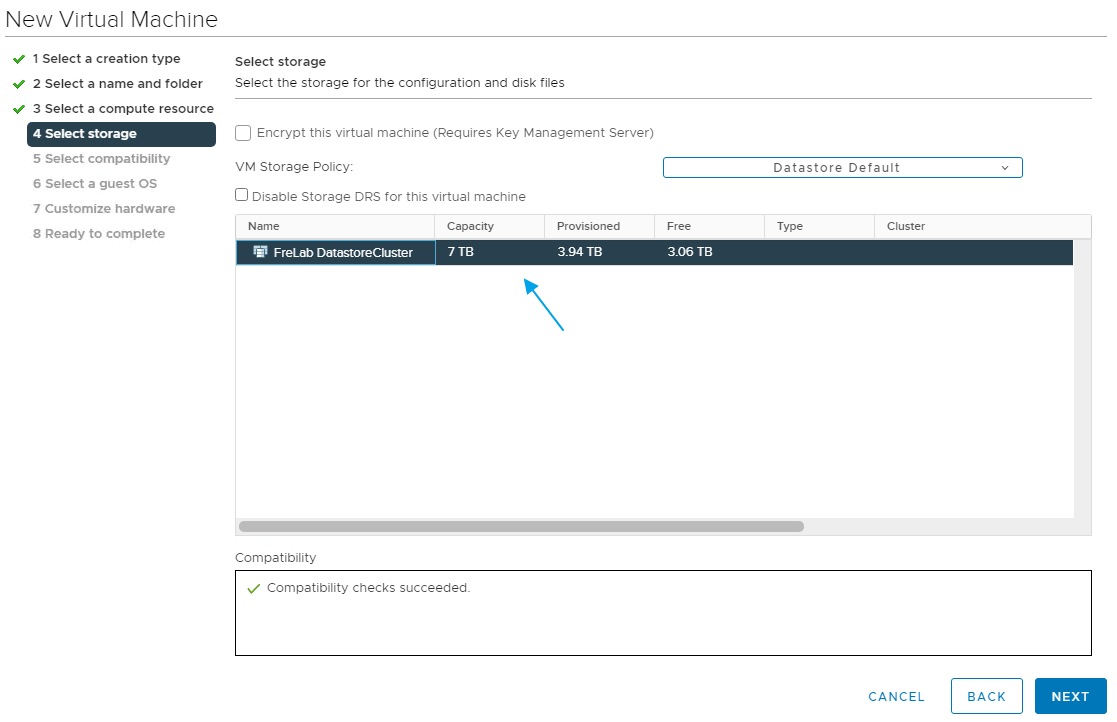
I choose a storage location, in my case this will be my Datastore Cluster, Next…
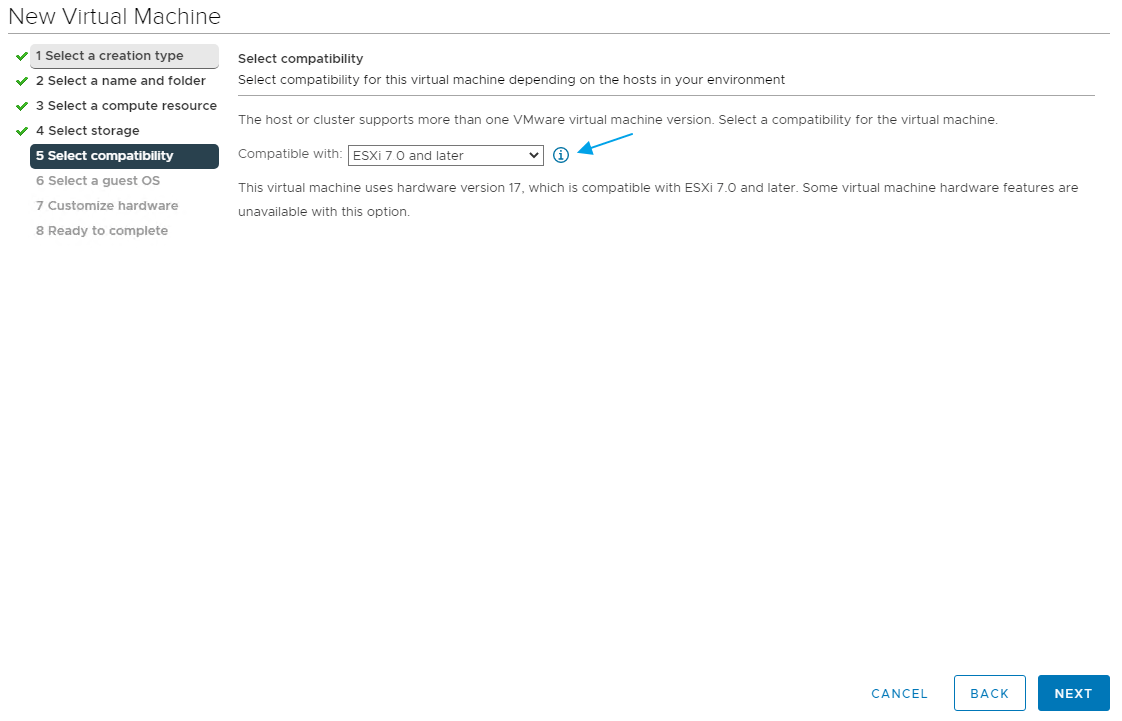
I select virtual machine compatibility, Next…
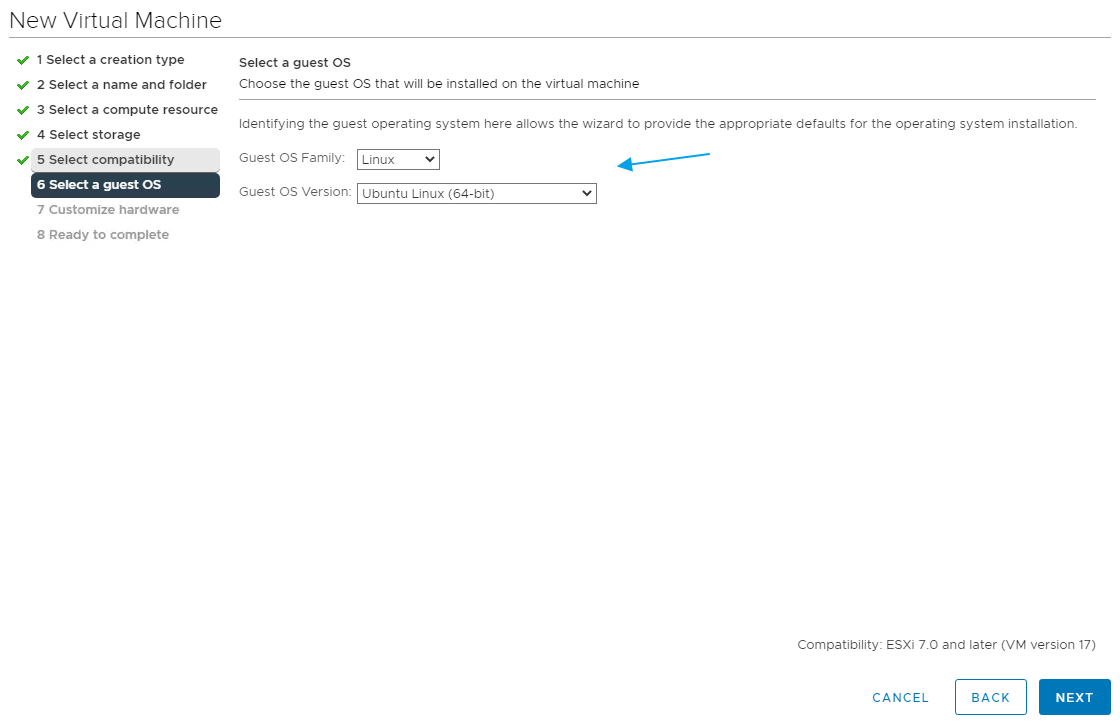
I select OS Family and Version, Next…
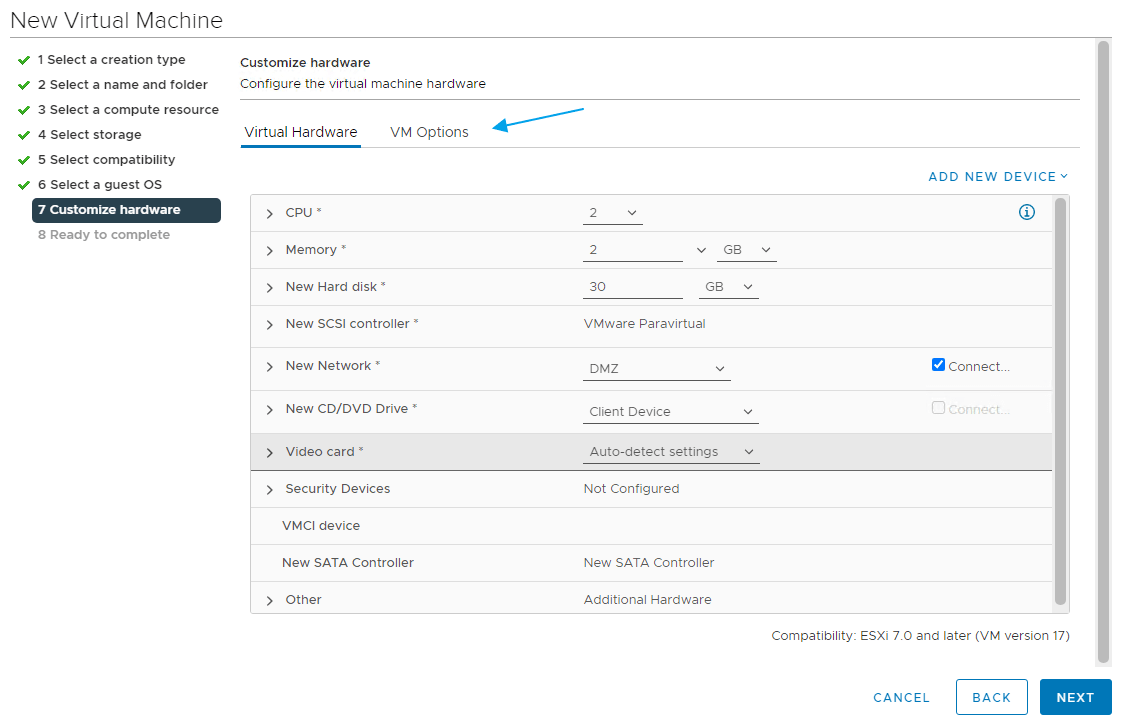
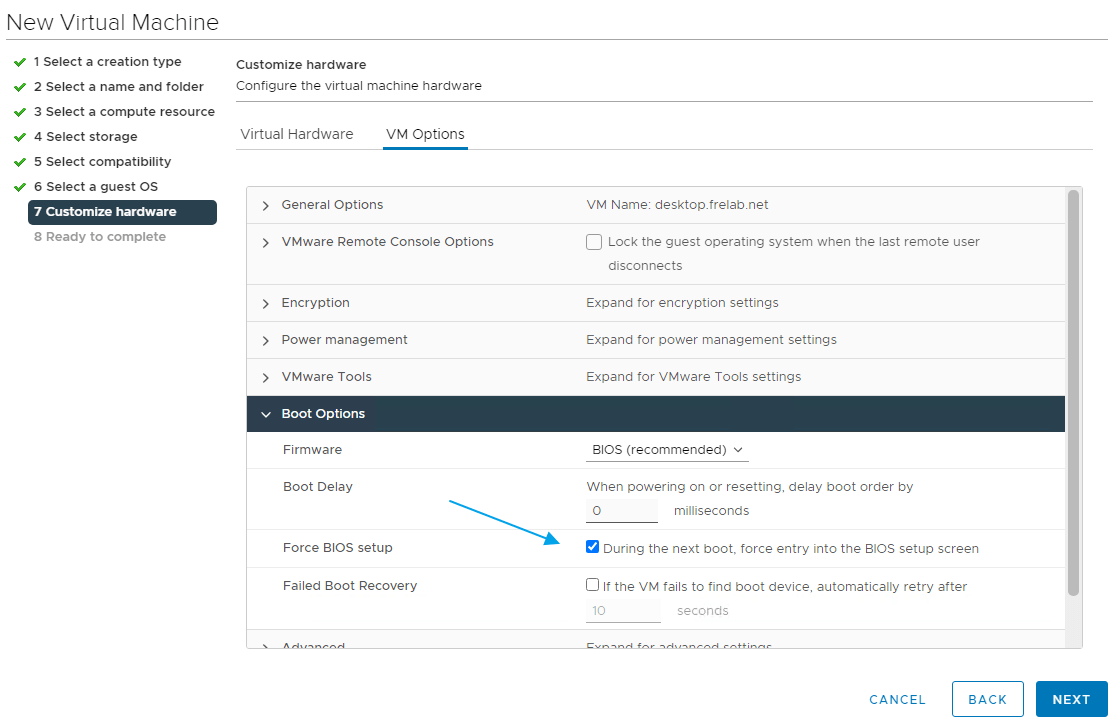
From the Virtual Hardware tab, I adjust the virtual hardware according to my needs. Note that I don’t attach any ISO to the CD/DVD Drive at this time. I select the VM Options Tab…
In VM Options, I select to boot to BIOS next time, Next…
Everything looks fine, Finish…

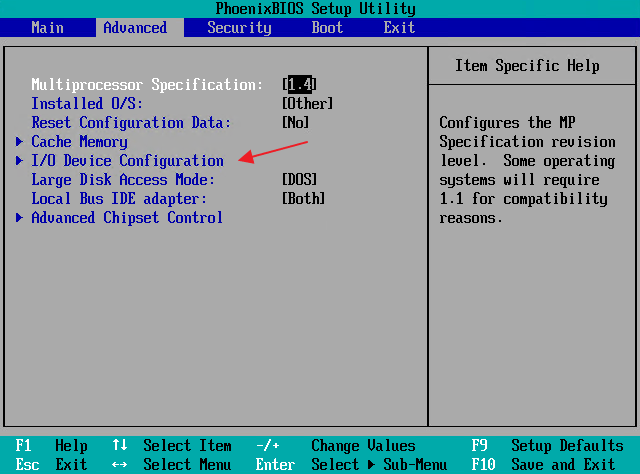
Once the virtual machine is created, I power it up. I open the VMware Virtual Console and can see the BIOS-screen, I select the Advanced Tab

From the Advanced tab, I select I/O Device Configuration…
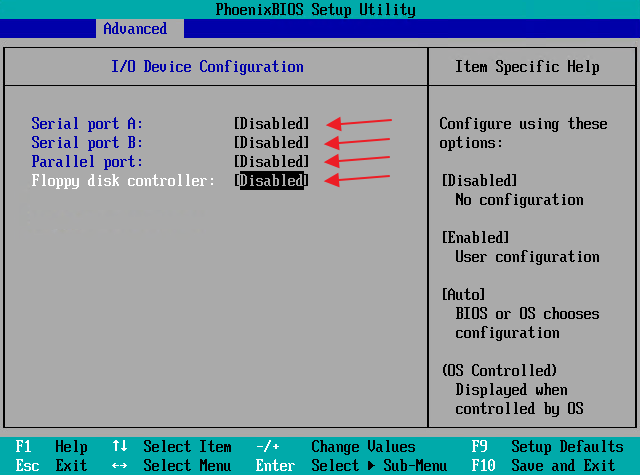
I disable all serial, parallel and floppy devices, once done, I hit ESC to return to the previous screen.
From the Boot tab, I edit the boot order, so I can boot the virtual machine from an ISO file.
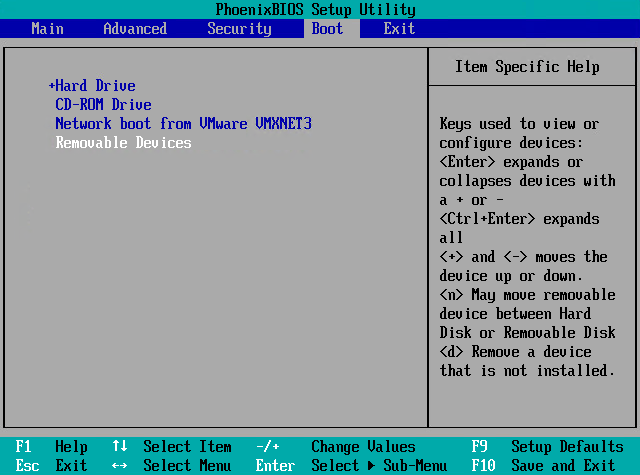
I save settings and exit

Next I shut down the virtual machine.

Finally I attach the Ubuntu Server ISO-file, select “Connect At Power On”, and power on the virtual machine.

This finishes my session about deploying a virtual machine to host my HAProxy server. I can now start installing the server OS, Ubuntu Server 20.04. This I have made a session about posted here: HAProxy OS Installation
Disclaimer: Every tips/tricks/posting I have published here, is tried and tested in different it-solutions. It is not guaranteed to work everywhere, but is meant as a tip for other users out there. Remember, Google is your friend and don’t be afraid to steal with pride! Feel free to comment below as needed.