
Release date: July 15th 2020
Welcome to my VMware Horizon series. In this session I will go through everything from the design to published desktop pool. Previously, I divided this session into sub-sessions, due to the length of this process, but this time I have put everything on the same page.
To complete this session, I have identified the following tasks that have to be completed.
- Template Design
- Create Virtual Machine
- Install Windows and VMware Tools
- Install Agents and Software
- Optimize
- Generalize
- Finalize
- Desktop Pool
Template Design
I have used my Template and Desktop Pool Design documents in preparations for this session. These I have attached here: Template-design and Desktop-Pool-design
The decisions I made are as follows:


So, with all the decision-making done, I can now proceed with creating the virtual machine.
Create Virtual Machine
Login to vSphere, select the cluster and choose “New Virtual Machine”, Next…

I give the Virtual machine a name, and select the location where the VM should be placed, Next…

I select FreLab Cluster as my compute resources where the VM will be placed, Next…
Select the Storage on where the VM will be placed, in my case the Datastore Cluster, Next…

Select the compatibility. I choose to use the “ESXi 6.7 Update 2 and later”, Next…

I select Windows as Guest OS Family and Windows 10 (64-bit) as OS Version, Next…

Customize the hardware, as seen below, VM Options…
4 vCPU 4 GB Memory 60 GB Hard disk VMware Paravirtual SCSI

I temporarily change firmware to BIOS and select “Force EFI setup”

Under Configuration Parameters, I click “Edit Configuration”

Add Configuration Params

I add «devices.hotplug» with the value “False”, OK…

Disable logging, Next…

Finish…

Once the Virtual Machine is created, I will add a second SCSI controller temporarily, LSI Logic SAS. I will also set the Hard disk to use the LSI controller temporarily during the Windows and VMware Tools installation. The reason for doing this is because Windows 10 doesn’t have the VMware Paravirtual SCSI native. The driver for this SCSI interface gets installed with VMware Tools later on. Once VMware Tools is installed, I will change the Hard disk back to use the VMware Paravirtual controller and delete the LSI Logic controller.


I power on the VM

When the VM is created, I first boot into BIOS and make the following modifications. I launch the Web or Remote Console. In BIOS I disable all features that are unnecessary. In the Main-tab, all Diskette stations are disabled, which is OK. Next, I open the Advanced–tab.

Within the advanced section, select I/O Device Configuration. I don’t need any of the I/O Devices, so we disabled them all. Press ESC to return to the BIOS main screen. Select Boot-Tab


I change the boot-order as follows. When done, I press ESC and F10. Save and exit


With the BIOS modifications done, I power off the VM and change Firmware back to EFI. I also attach the Windows 10 ISO and tick “Connect at power on”, OK…


Install Windows and VMware Tools
Install Windows and VMware Tools
When I power on the Virtual Machine, the Windows Installation starts. I first adjust the language-settings, Next…

Install Now

I won’t be activating at this point

I select the Windows 10 version I decided on during design, Next…

I accept Terms, click Next…

I select “Custom: Install windows Only”

I choose my one and only partition, Next…

The Windows installation starts…

When I arrive at the Basics-screen below, I press CTRL-SHIFT-F3 to enter Audit Mode

Inside Windows, I click Cancel in the Sysprep dialogue box

At this point I do a “Typical” VMware Tools installation


When the VMware Tools installation is complete, and a reboot has been done, I select Yes to make the system discoverable and Cancel the sysprep. Next, I shut down Windows.


I edit the Virtual Machine to use my VMware Paravirtual controller instead of the LSI logic I used during the Windows and VMware Tools installation. I remove the LSI Logic controller from the virtual machine.


Install Agents and Software
The first thing I do is to install Microsoft .Net running the following command:
DISM /Online /Enable-Feature /FeatureName:NetFx3 /All /LimitAccess /Source:D:\sources\sxs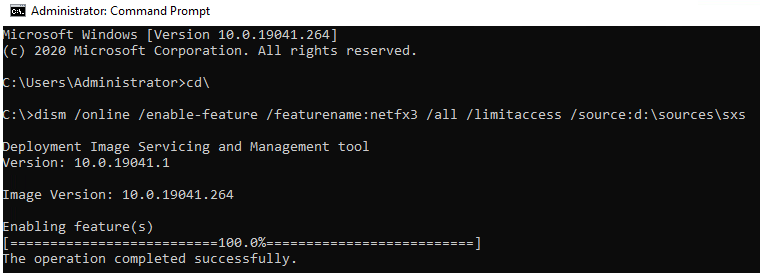
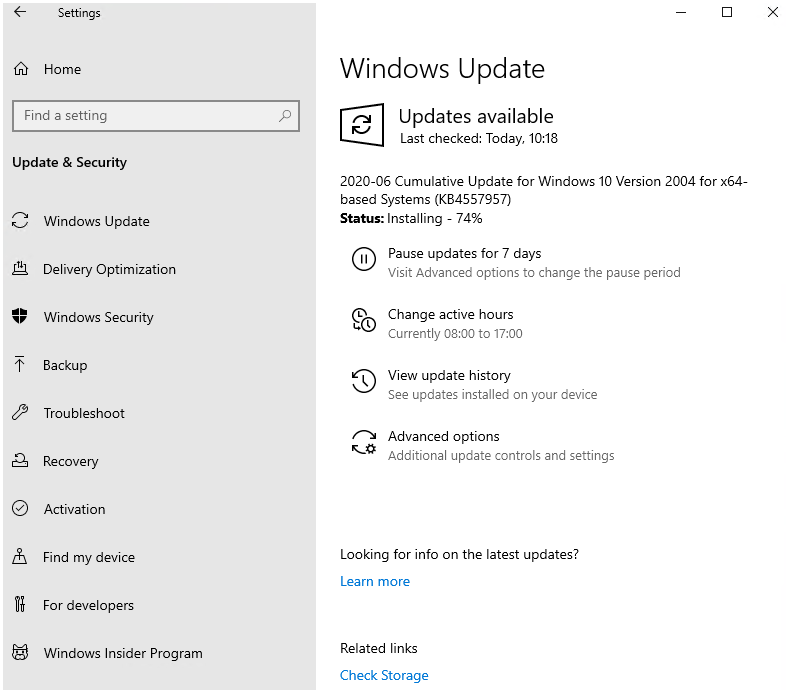
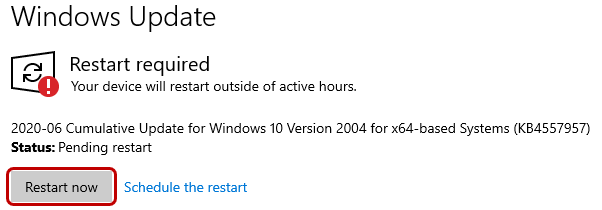
I install Windows updates and reboot until there are no more needed updates

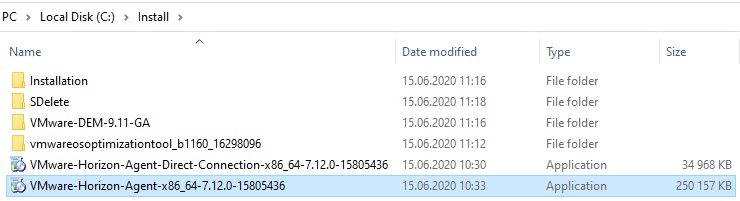
Next, I install the VMware Horizon Agent with the options I selected during the design phase. I launch the installer I downloaded previously.
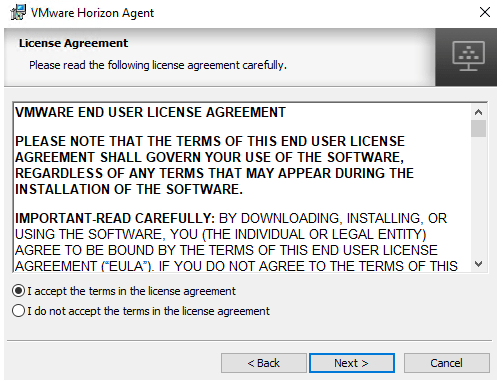
I accept the License Agreement, Next…
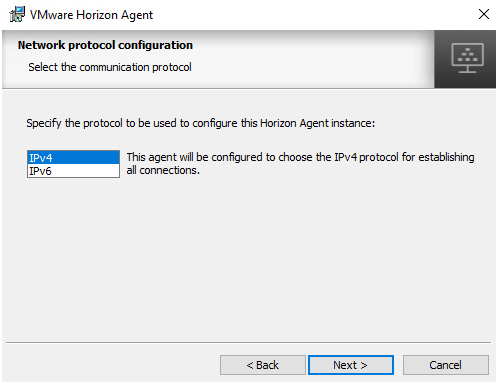
I select IPv4, Next…
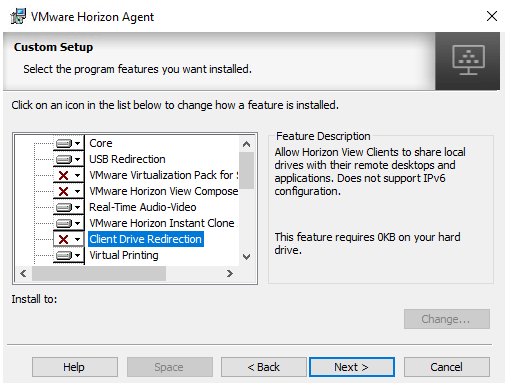
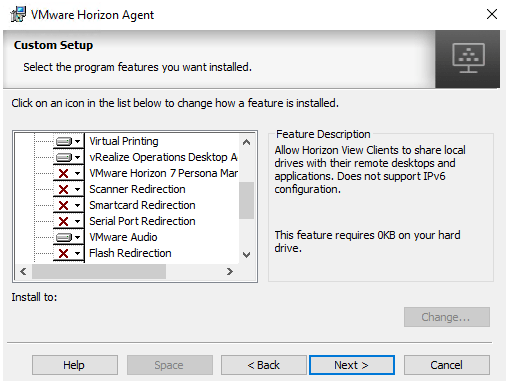
I select the features I decided on in my design, Next…

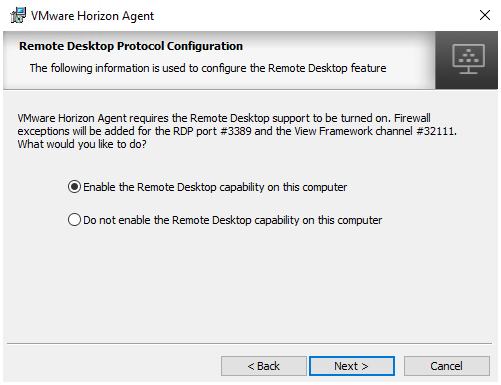
I select «Enable the Remote Desktop Capability», Next…
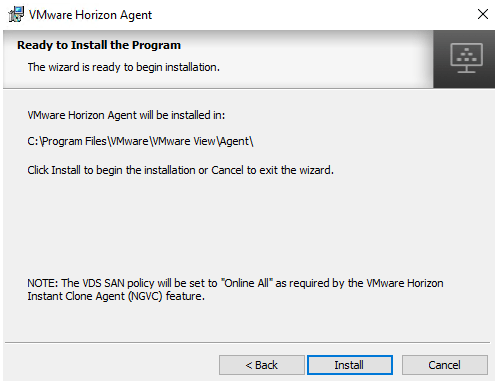
Install…
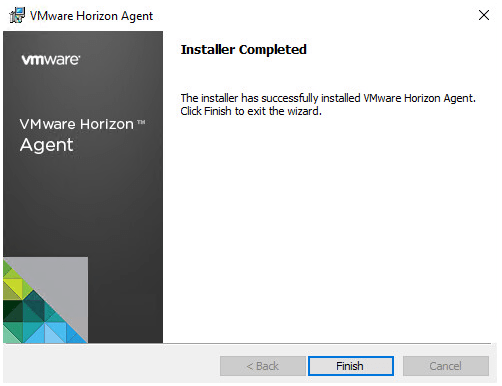
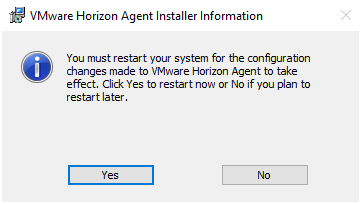
I click Finish when the installation is complete and restarts the VM
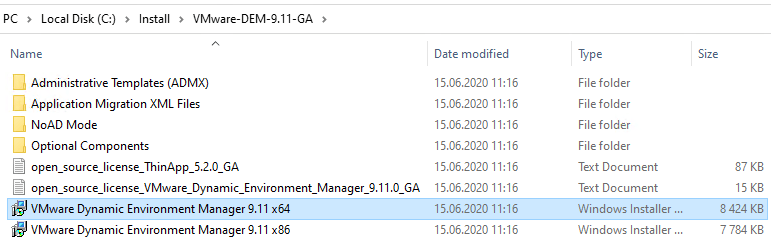
When the virtual machine has rebooted, I run through a “typical” installation of VMware Dynamic Environment Manager by launching the x64 version of the installer.
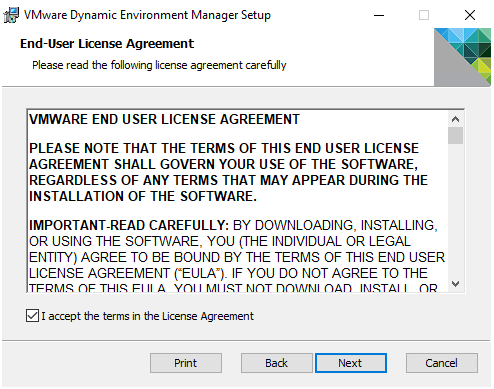
I select «I accept the terms in the license agreement», and click Next…
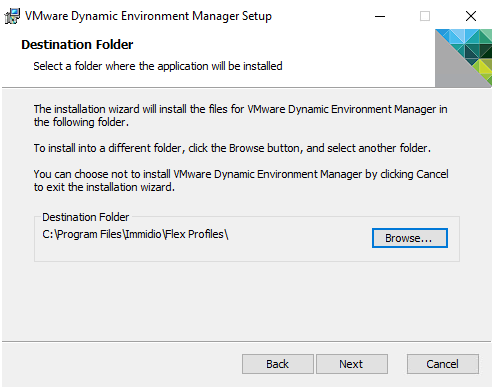
Select a destination folder, default location is good, Next…
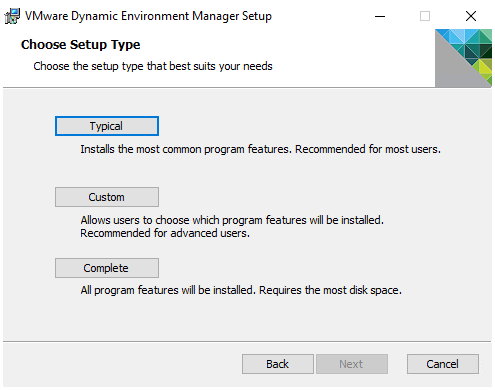
I select Typical…
I click Next on the License File Page

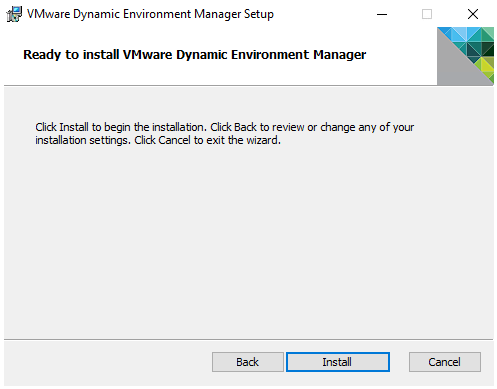
Install…
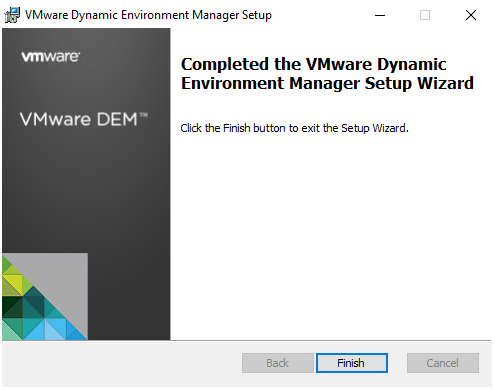
Finish…
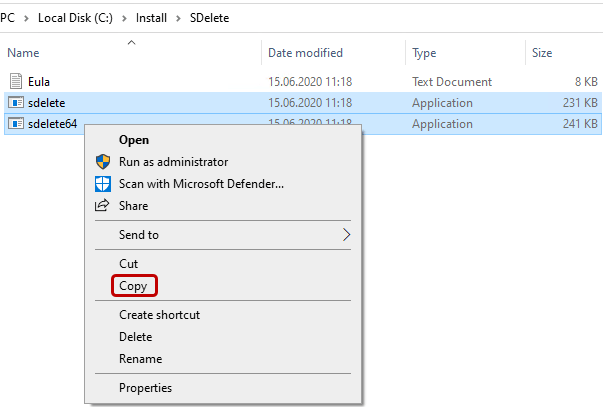
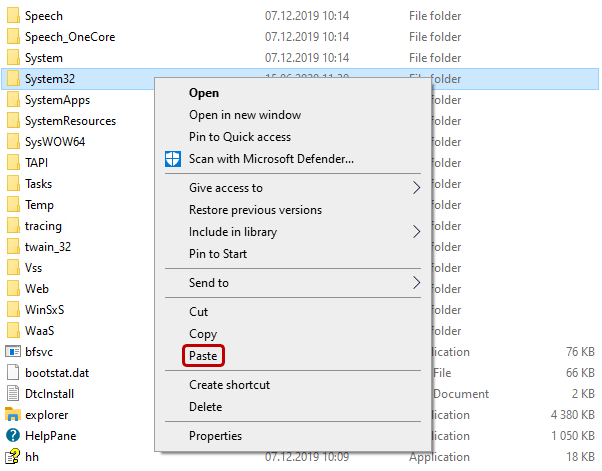
I will also copy in the sdelete binaries to C:\Windows\System32, as I will need these later with VMware OS Optimization Tool
Optimize
As I have had some quite “interesting” experiences with OSOT, I will shut down the virtual machine and take a snapshot before I proceed with optimizing the template. This I will repeat later on in this guide due to the same reasons.

Once the virtual machine is powered on again, I launch VMware OS Optimization Tool

The first thing I do is to check for updates and update as necessary


Analyze…

Common Options

I adjust the common options as needed…


Based on the recommendations from the optimization tool, I run “Optimize” and reboot after completion.


Generalize
As I mentioned above, I have seen some strange behavior after using OSOT, one of them causing an eternal “Why did my PC restart?”-loop, described here: Troubleshooting “Why did my PC restart?”-loop after sysprep with VMware OSOT, therefore I will shut down the vm once more, and take another snapshot before I continue.

I launch OSOT once more and select the Generalize tab

I click “View Answer File” to verify the settings

I verify that my Time zone and local settings are correct, Confirm…

Generalize and reboot afterwards


I optimize once more to reapply settings that were changed during sysprep, reboot again

Finalize
I shut down the vm and take one last snapshot before I finalize

I launch VMware OSOT and select the Finalize tab

Execute…


Once the Finalize phase is finished, it is time to install the App Volumes agent and, if necessary, the GPU drivers. This is not what the official VMware documentation says here: Creating an Optimized Windows Image for a VMware Horizon Virtual Desktop, but I prefer to follow Hilko Lantinga’s recommendation posted here: VMware OS Optimization Tool comments

I launch the VMware App Volumes agent installer, Next…

I accept the terms, Next…

Install App Volumes Agent, Next…

Next…

I fill in the address to my App Volumes Manager, leave 443 port, Next…

Install…

Finish and Reboot


After the reboot, I release the ip and shut down the vm. As everything has gone as I wanted above, I delete all snapshots before I continue.

The Virtual Machines now has a footprint at 60 GB prior to my OVF-export and import.

Before starting the export to OVF, remember to enable pop-ups for the vCenter web-site and check to have enough available disk-space for the download!

After the export, the main vmdk is only 7,1 GB

Next, I import the OVF, Select Files…

Select all the files, Open


Next…

I give the virtual machine a name, Next…

Next…

Next…

Thin Provision, Next…

Select correct network, Next…

Finish…

After exporting and importing thin, the vm’s footprint has gone from 60 GB to 10 GB, acceptable.

Remember to delete the exported OVF files


Desktop Pool
Before I start making my desktop pool, I take a snapshot

I login to VMware Horizon Admin Console and start the “Create new Desktop Pool Wizard”. For this session it will be An Automated Desktop Pool, Next…

I choose Instant Clone, my vCenter, Next…

For this desktop pool, I will be using Floating User assignment, Next…

No VSAN, as of yet, Next…

I enter an ID and a Display name, Next…

I provide the provisioning details, Next…

I detail the vCenter configuration, Next…

Configure the connection settings, Next…

Select Remote Display settings, Next…

I choose the Domain and Active Directory settings, Next…

I complete the New Desktop Pool wizard and entitle my test users, Submit…

Add…

I search for and select my test user group, Horizon Users, OK…

OK…

The publishing starts immediately


Once the state changes to “Published“, I can verify that the desktops and computer-accounts are created and available


I can now finally test and log in to my new desktop pool.


With that, this complete walk-through from Horizon Desktop Pool design to published desktops has reached its conclusion.
Recommended reading:
VMware Tech Zone: Creating an Optimized Windows Image for a VMware Horizon Virtual Desktop
VMware Horizon View planning, deployment etc.
Disclaimer: Every tips/tricks/posting I have published here, is tried and tested in different it-solutions. It is not guaranteed to work everywhere, but is meant as a tip for other users out there. Remember, Google is your friend and don’t be afraid to steal with pride! Feel free to comment below as needed.
Great goods from you, man. I have understand your stuff previous to and you are just extremely fantastic. I really like what you’ve acquired here, really like what you are stating and the way in which you say it. You make it entertaining and you still take care of to keep it sensible. I can not wait to read far more from you. This is actually a great site.
Hello,
Perfect article.
Explaining much of our questions!
I have a question about Windows 10 Pro key licensing. How do you pass the keys to your automated pool machines?
We have the linked-clone licence for VMware Horizon and we need to know about Windows 10 activation.
What options do we have?
Thank you
Hello Tim…
VMware Horizon only support KMS licensing for Windows 10, check VMware’s documentation at: https://docs.vmware.com/en/VMware-Horizon-7/7.13/horizon-virtual-desktops/GUID-488FF47B-96F4-4F28-836C-6041D8B3745C.html
Cheers…